This guide is assuming you have a Google Analytics - Universal Analytics (UA) property for your website and it’s deployed via Google Tag Manager (GTM). If you are unsure, then install the Tag Assistant extension for your chrome browser and check if your Tag Manager Property is setup and Analytics are among the tags.
Objective
I want to track whenever people click the Work with me button on this website with Google Analytics. The purpose of this demo is to show you how to track an event without touching the website’s code by using Google Tag Manager.
Configure Google Analytics Event
Open Tag Manager to get started, then select your property.
Add the Tag
Once in your Property’s workspace Tags from the sidebar menu, and then select the New button on the right side of the tags list to add a new tag

Select a Tag Type
A window should pop-up from the right. Give your tag a name and select the Tag Configuration field

A new window will pop up on the right side again, prompting you to choose a tag type. Use the search feature and find the Google Analytics: Universal Analytics tag type. Select it to add it to the Tag Configuration
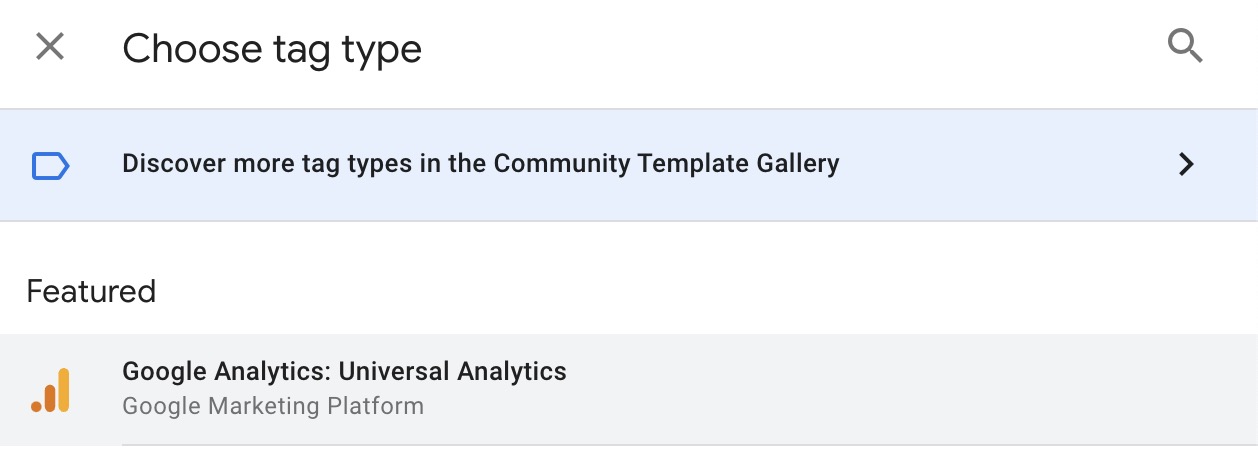
Now you should have Google Analytics: Universal Analytics added to the Tag Type field.
Configure the Tag
Go to the dropdown under the label Track Type and select Event. Now you should see a new set of fields labeled Event Tracking Parameters. Fill out each of the Category, Action, and Label fields.
Add your Google Analytics settings variable. If you don’t already have one, follow Google’s documentation.
The Non-Interaction Hit field can stay as False because this is an interaction and we want to count it as such for Google Analytics. There’s an explanation fit for Computer Science doctorates, but for this case, it will be False.
![]()
Now that our tag is configured, let’s set up the Triggering. Select the Triggering field below for the Choose a trigger menu to pop up.

For this step, we’ll need to add a new trigger. Select the plus sign in the upper right corner.

Yet another popup will appear. Add a title (“Work with me click”), then select the Trigger Configuration field for, you guessed it, another popup for selecting the type of trigger.
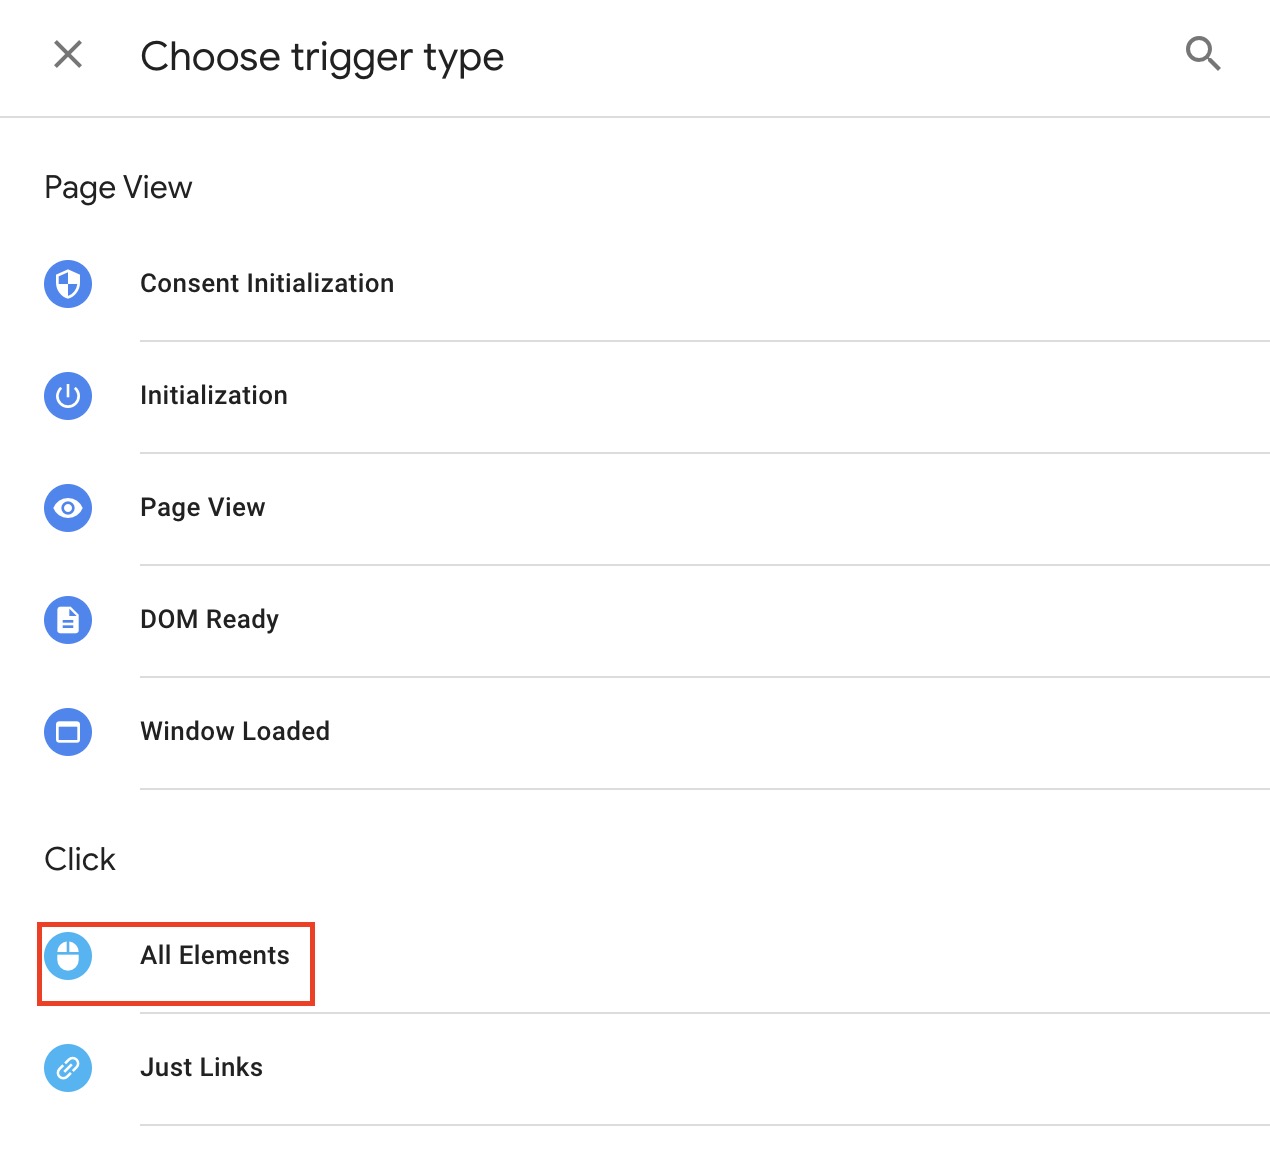
Select All Elements in the Choose type menu and you will be treated with yet another popup window.
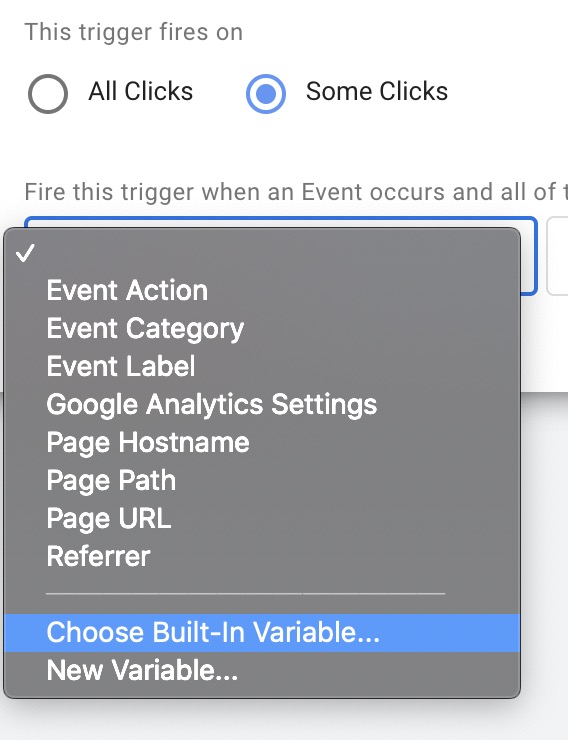
For “This trigger fires on” select Some Clicks
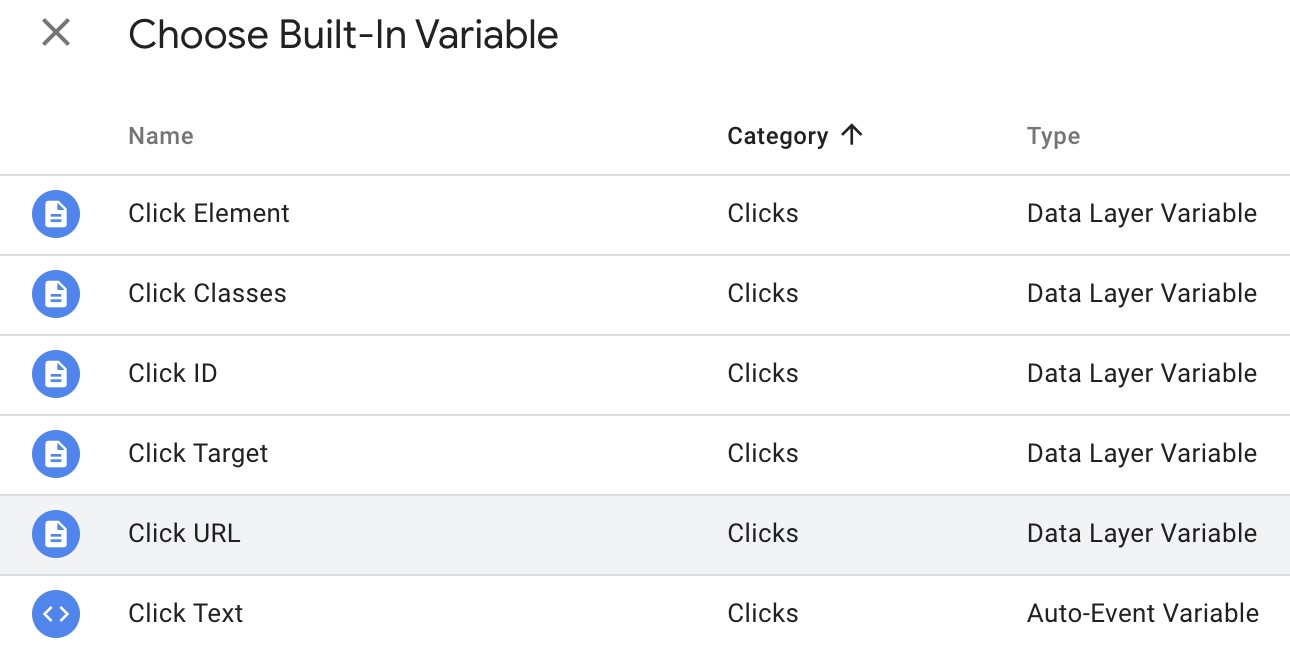
Now we can set the conditions. Select the first dropdown and select Choose built in variable for, the last one I swear, a popup window with variable options.
I’m using Click URL because I might choose later on to change the button text, but the URL will stay the say unless I make some major changes.
With the variable chose, I set up the rest of the conditions. I selected contains then entered open-form because I only want to trigger this even when a user clicks a button with this particular link. Select Save in the upper right corner to add the trigger.

With all our settings configured, we are ready to add the tag. Select Save in the upper-right corner to add the tag.
Test the Tag
Before we submit the tag, let’s test it first. Select the Preview button next to Submit in the upper right-hand corner.
A new tab will open as a result. Add your URL to the Your website’s URL input , then select Connect.
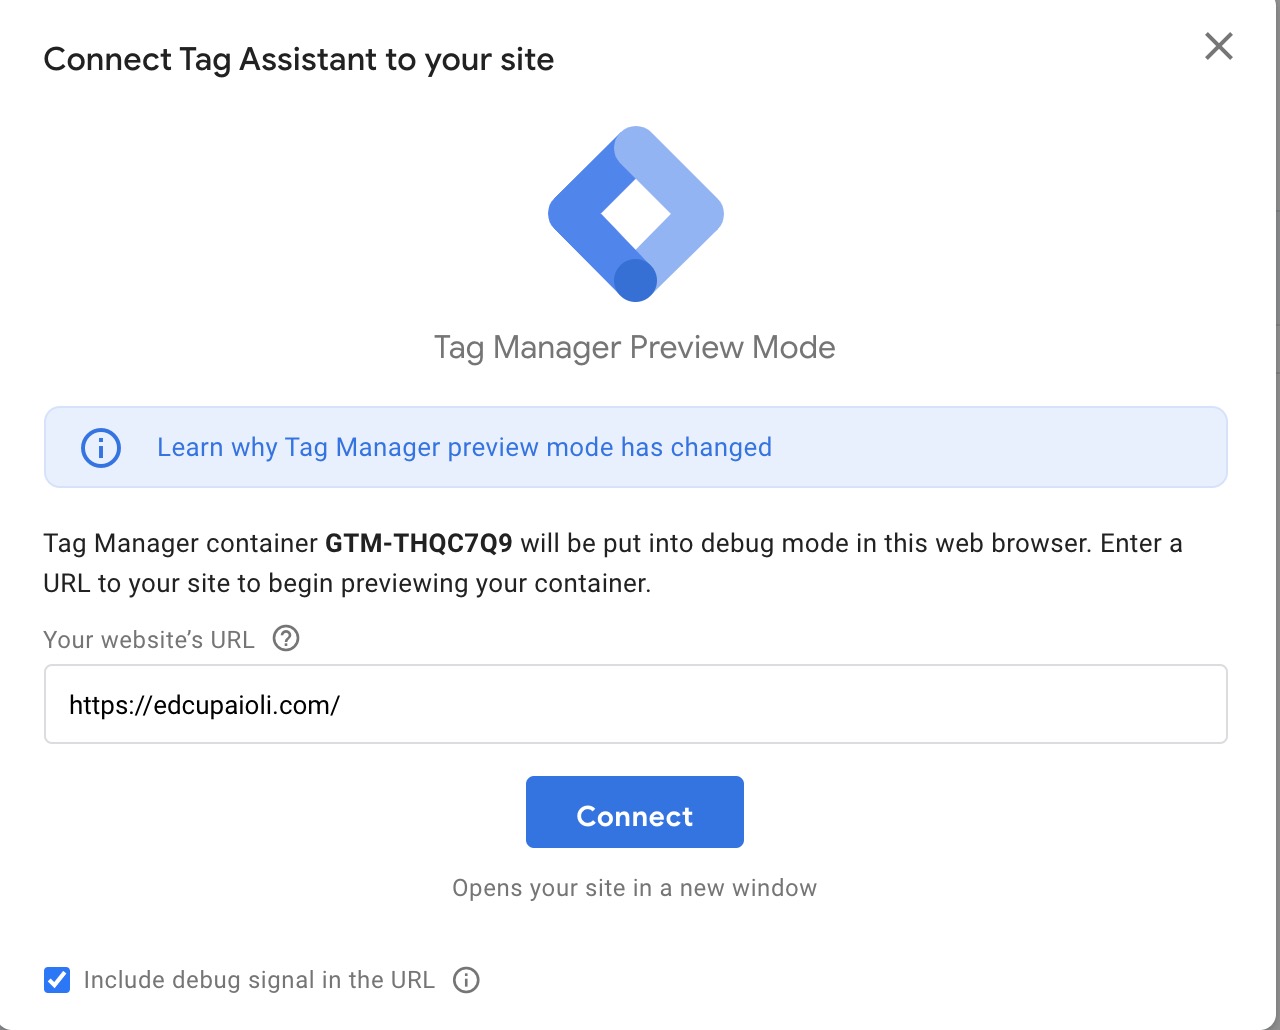
A popup window will appear with your site and the Tag Assistant will startup in the tab.
Go ahead and test the event by clicking the button with the conditions you created earlier.
Navigate back to the Tab with Tag Assistant open and select the Click event.
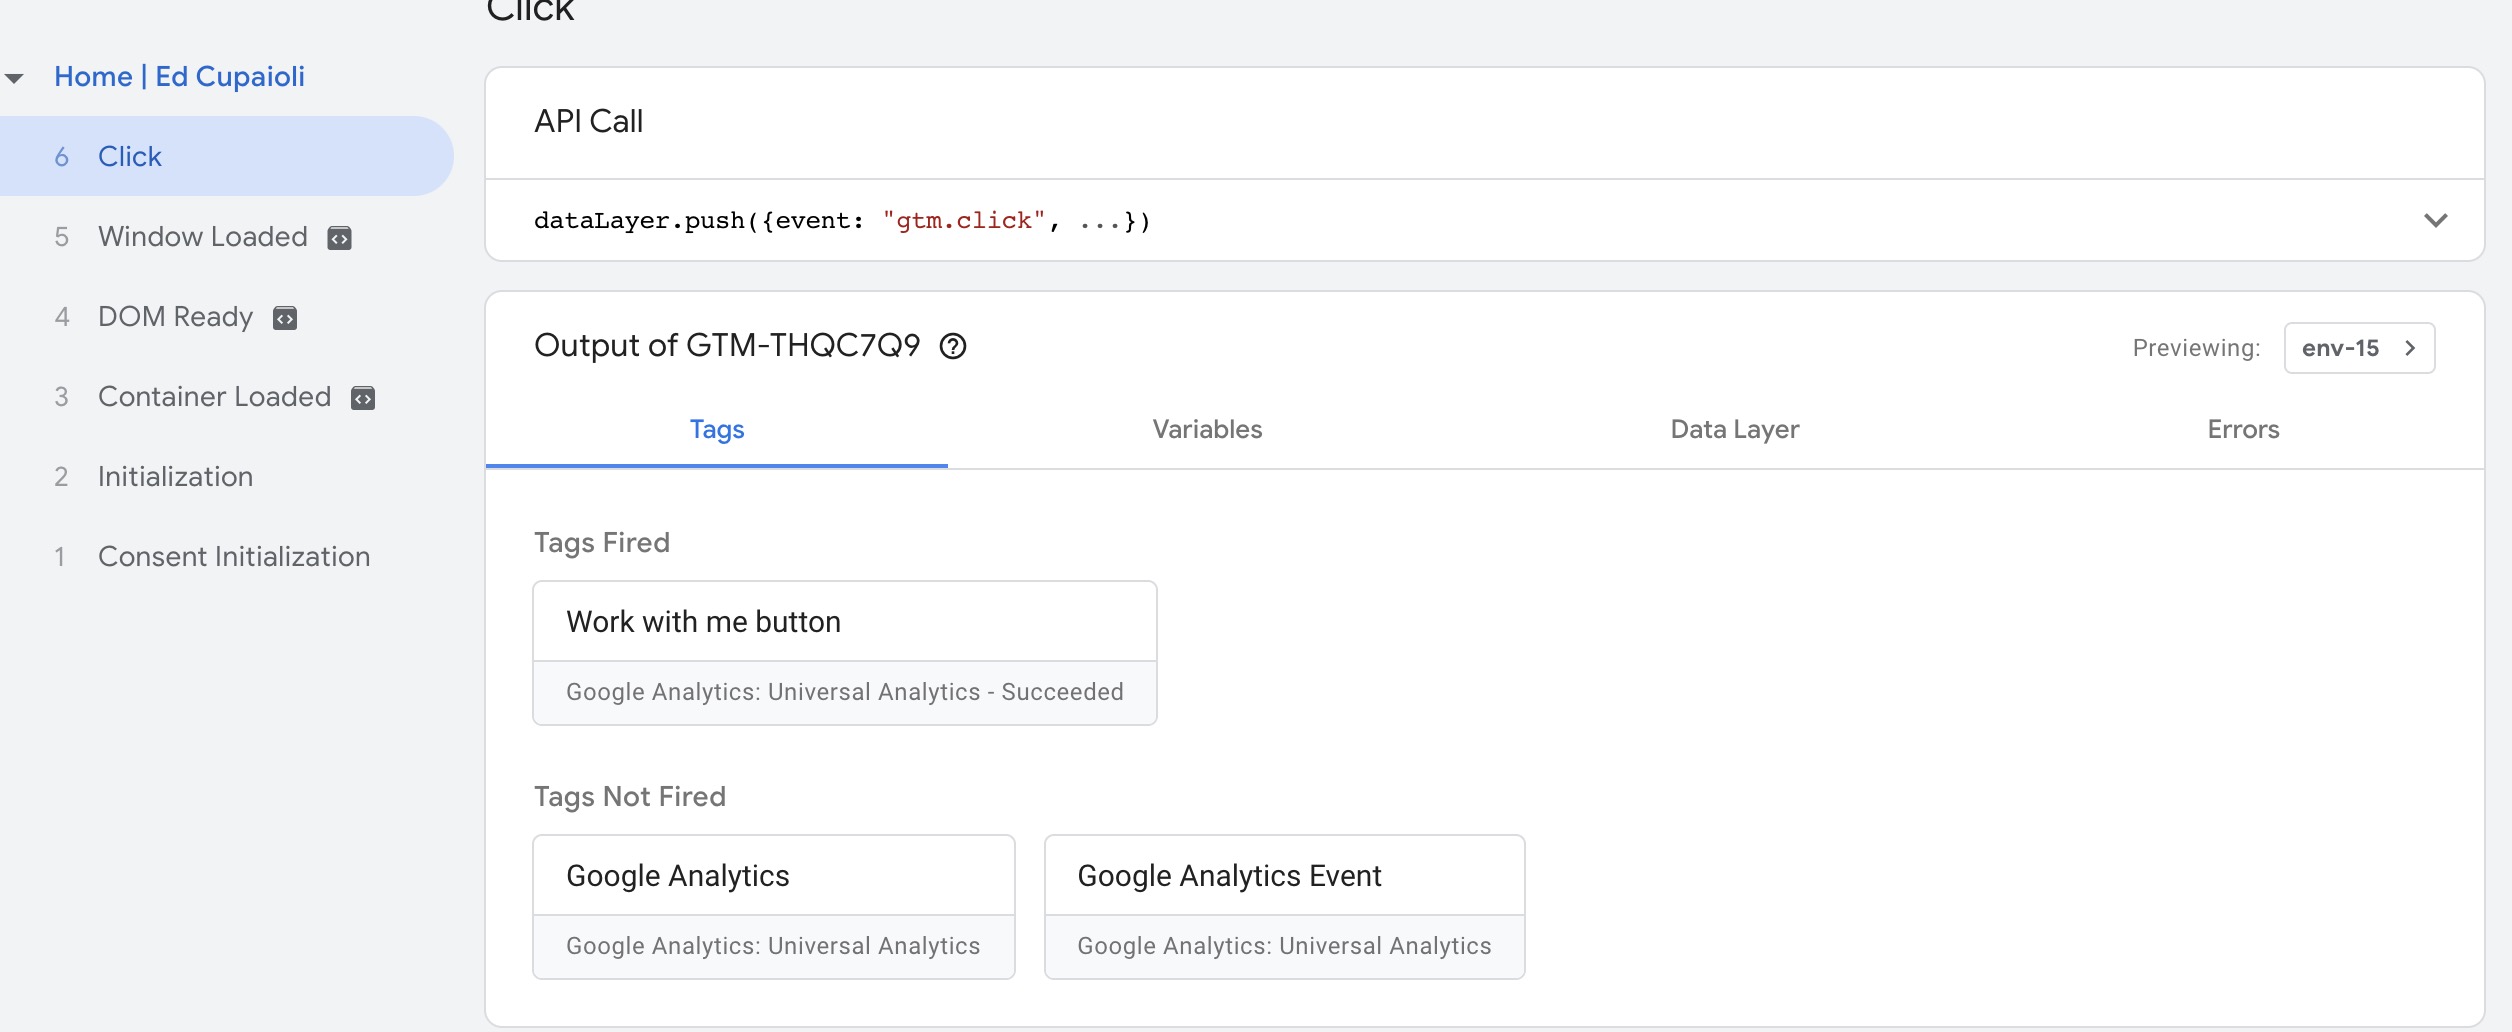
You should see your tag under Tags fired. If not, go back to your trigger conditions, refine them, and select Preview to restart the Tag Assistant until you see the tag get triggered.
You can also open Google Analytics and use the Real-Time events report to confirm that the event is being recorded (RealTime > Events)
Once you see your tag is working, go back to the tab with Google Tag Manager open and select Submit then Publish to make your new tag live.