Google is sunsetting Universal Analytics on July 1, 2023 so it’s time to hop on the Google Analytics 4 train if you haven’t already. The one key difference outside of the new UI that’s somehow even more opaque, are how events are tracked. Previously you would add an event action, category, and label to track an event. Now you just add an event name and you’re good to go unless you want to add custom and/or required parameters.
Recommended Events and Custom Definitions
One feature to watch out for are Recommended Events, which can have required parameters to send data. GA4 has special UI features set up for these but you need to make sure you add the required parameters or else GA4 won’t recognize the event.
The other new (not actually new, but more prominent) feature is Custom Dimensions. So if you wanted to add the category and label did back in the day, you can do that with Custom Definitions. There’s standard dimensions they automatically track as well.
This tutorial will just cover how to set up the generic tag to trigger events without any custom definitions since those will need to be configured on an event by event basis, which makes the generic tag moot.
Creating the Event Tag
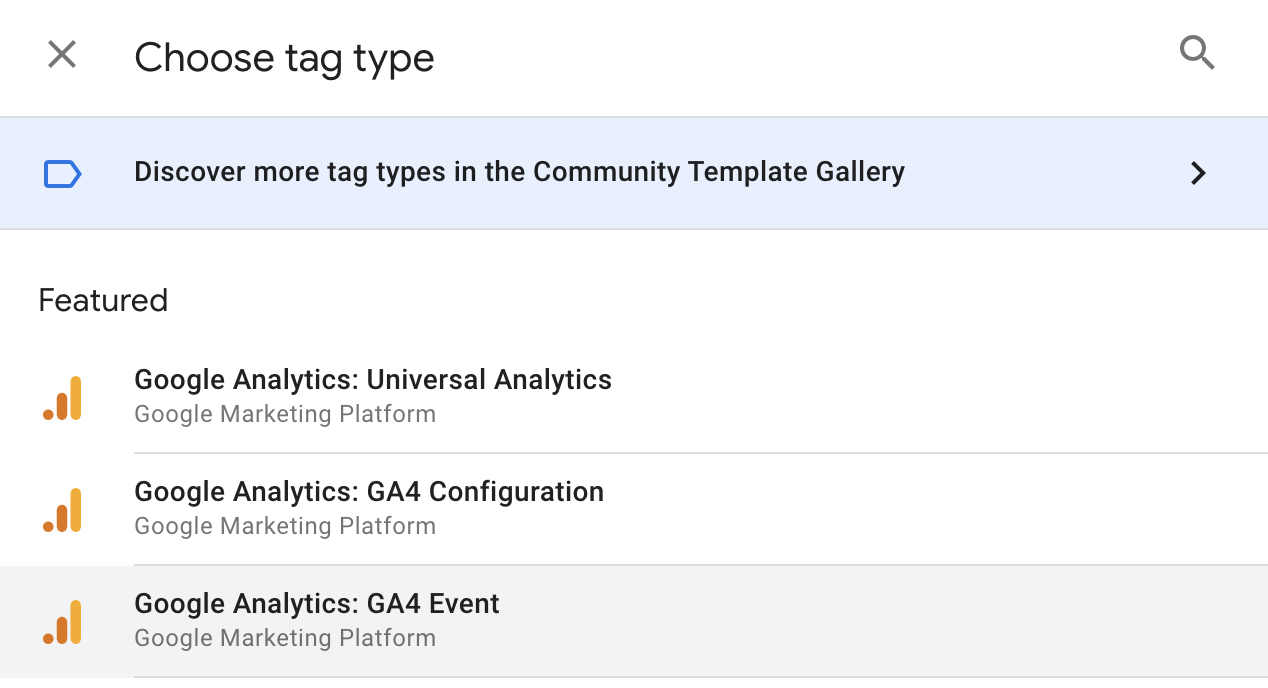
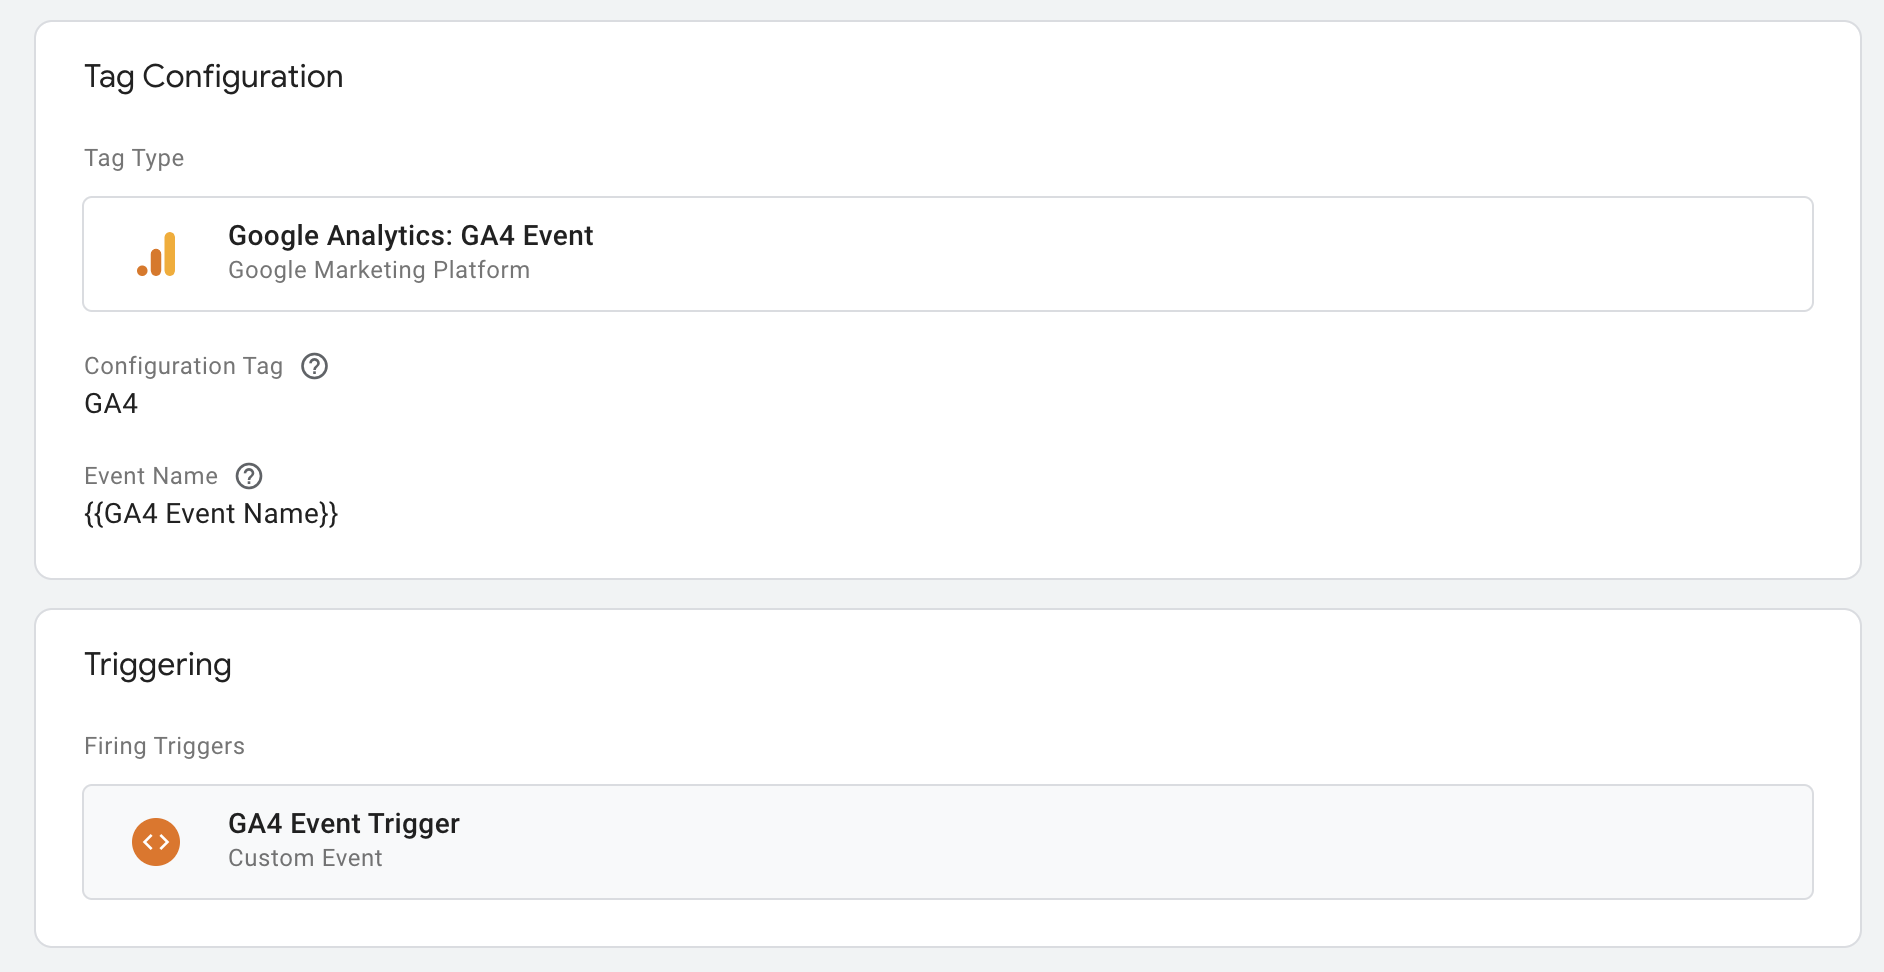
I wanted to create a generic event tag so I didn’t have to configure each and every event just like the generic event tag I created for UA. The first step to this is adding a Google Analytics 4 Event Tag. Once you select New to add a tag, select the Tag Configuration area and select Google Analytics: GA4 Event:
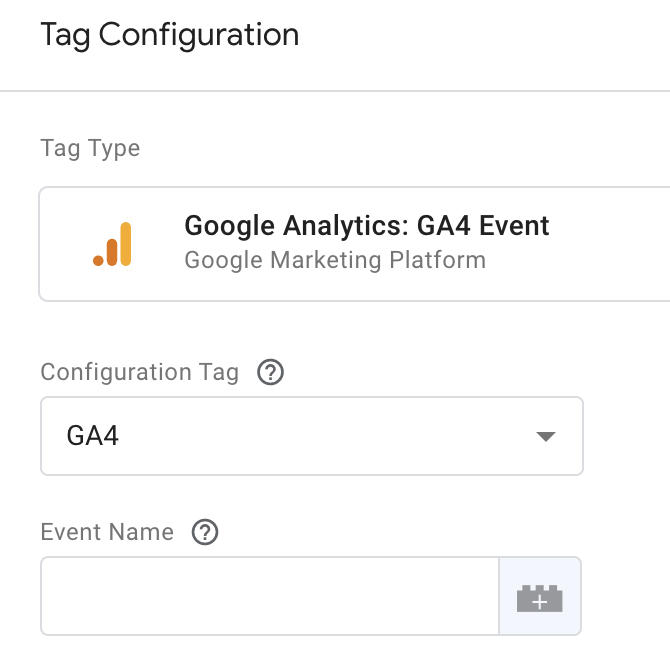
In the new model that pops up, you will select your Configuration tag (assuming you have that setup) then add your event name variable by selecting the wee lego piece:
Adding the Variable
Since we want to pass different data to this tag each time (eg ‘newsletter_signup’, ‘search_submission’, etc.), we need to create a variable that will be able to pass that event name through the dataLayer onto Google Analytics.
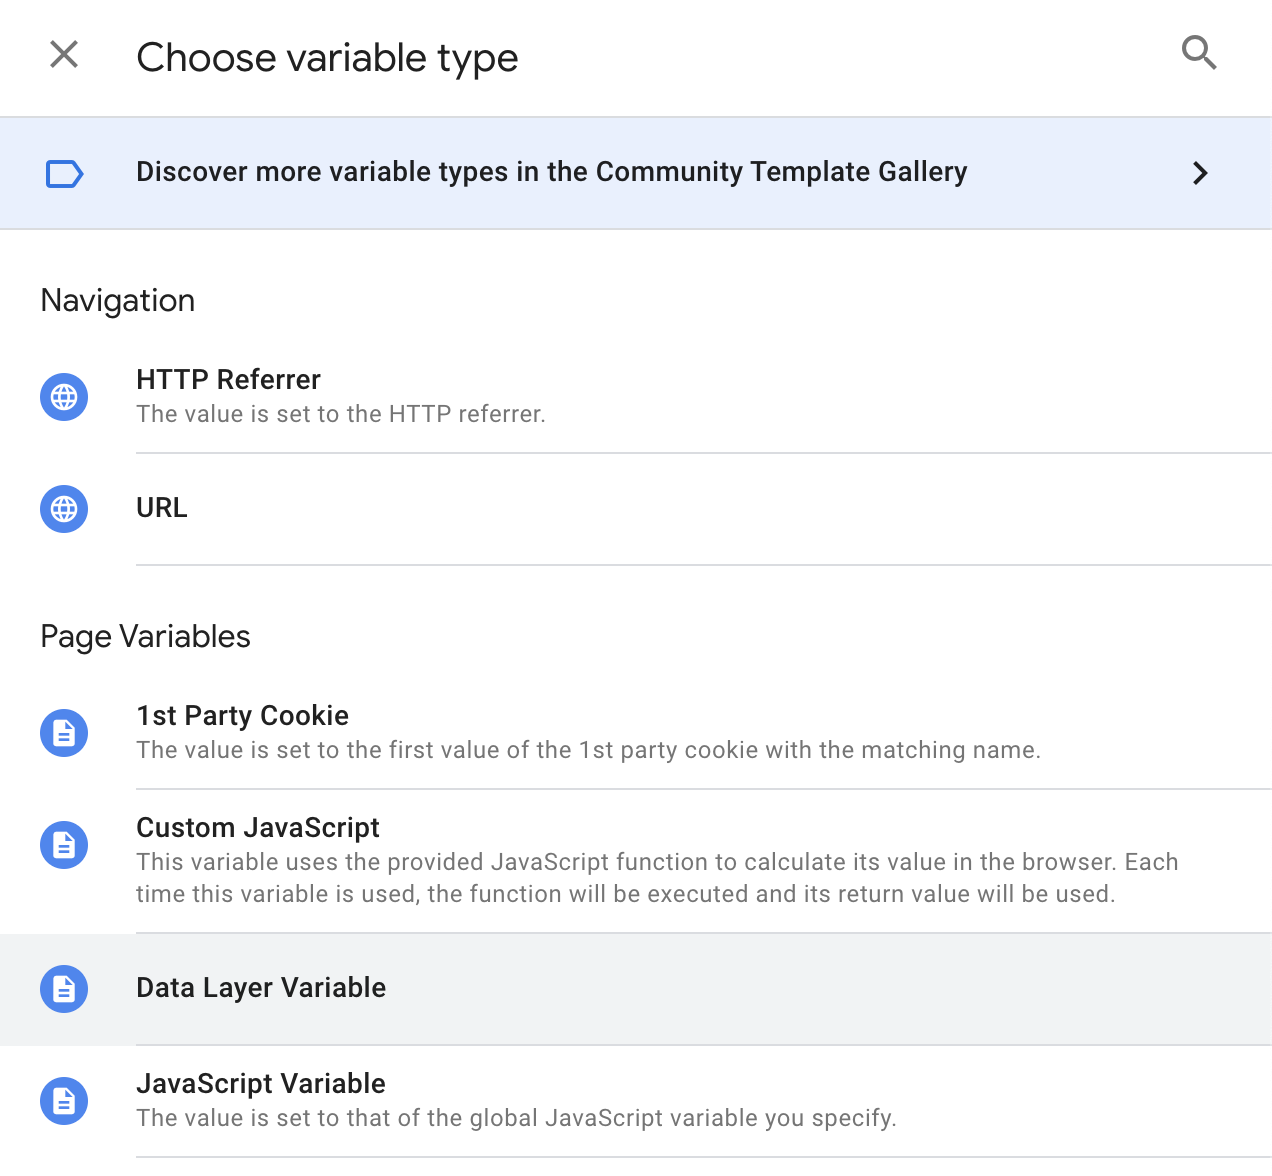
In the Choose a variable model that pops up, select the plus icon in the upper-righthand corner to add your variable, which will open another model for the Variable Configuration.
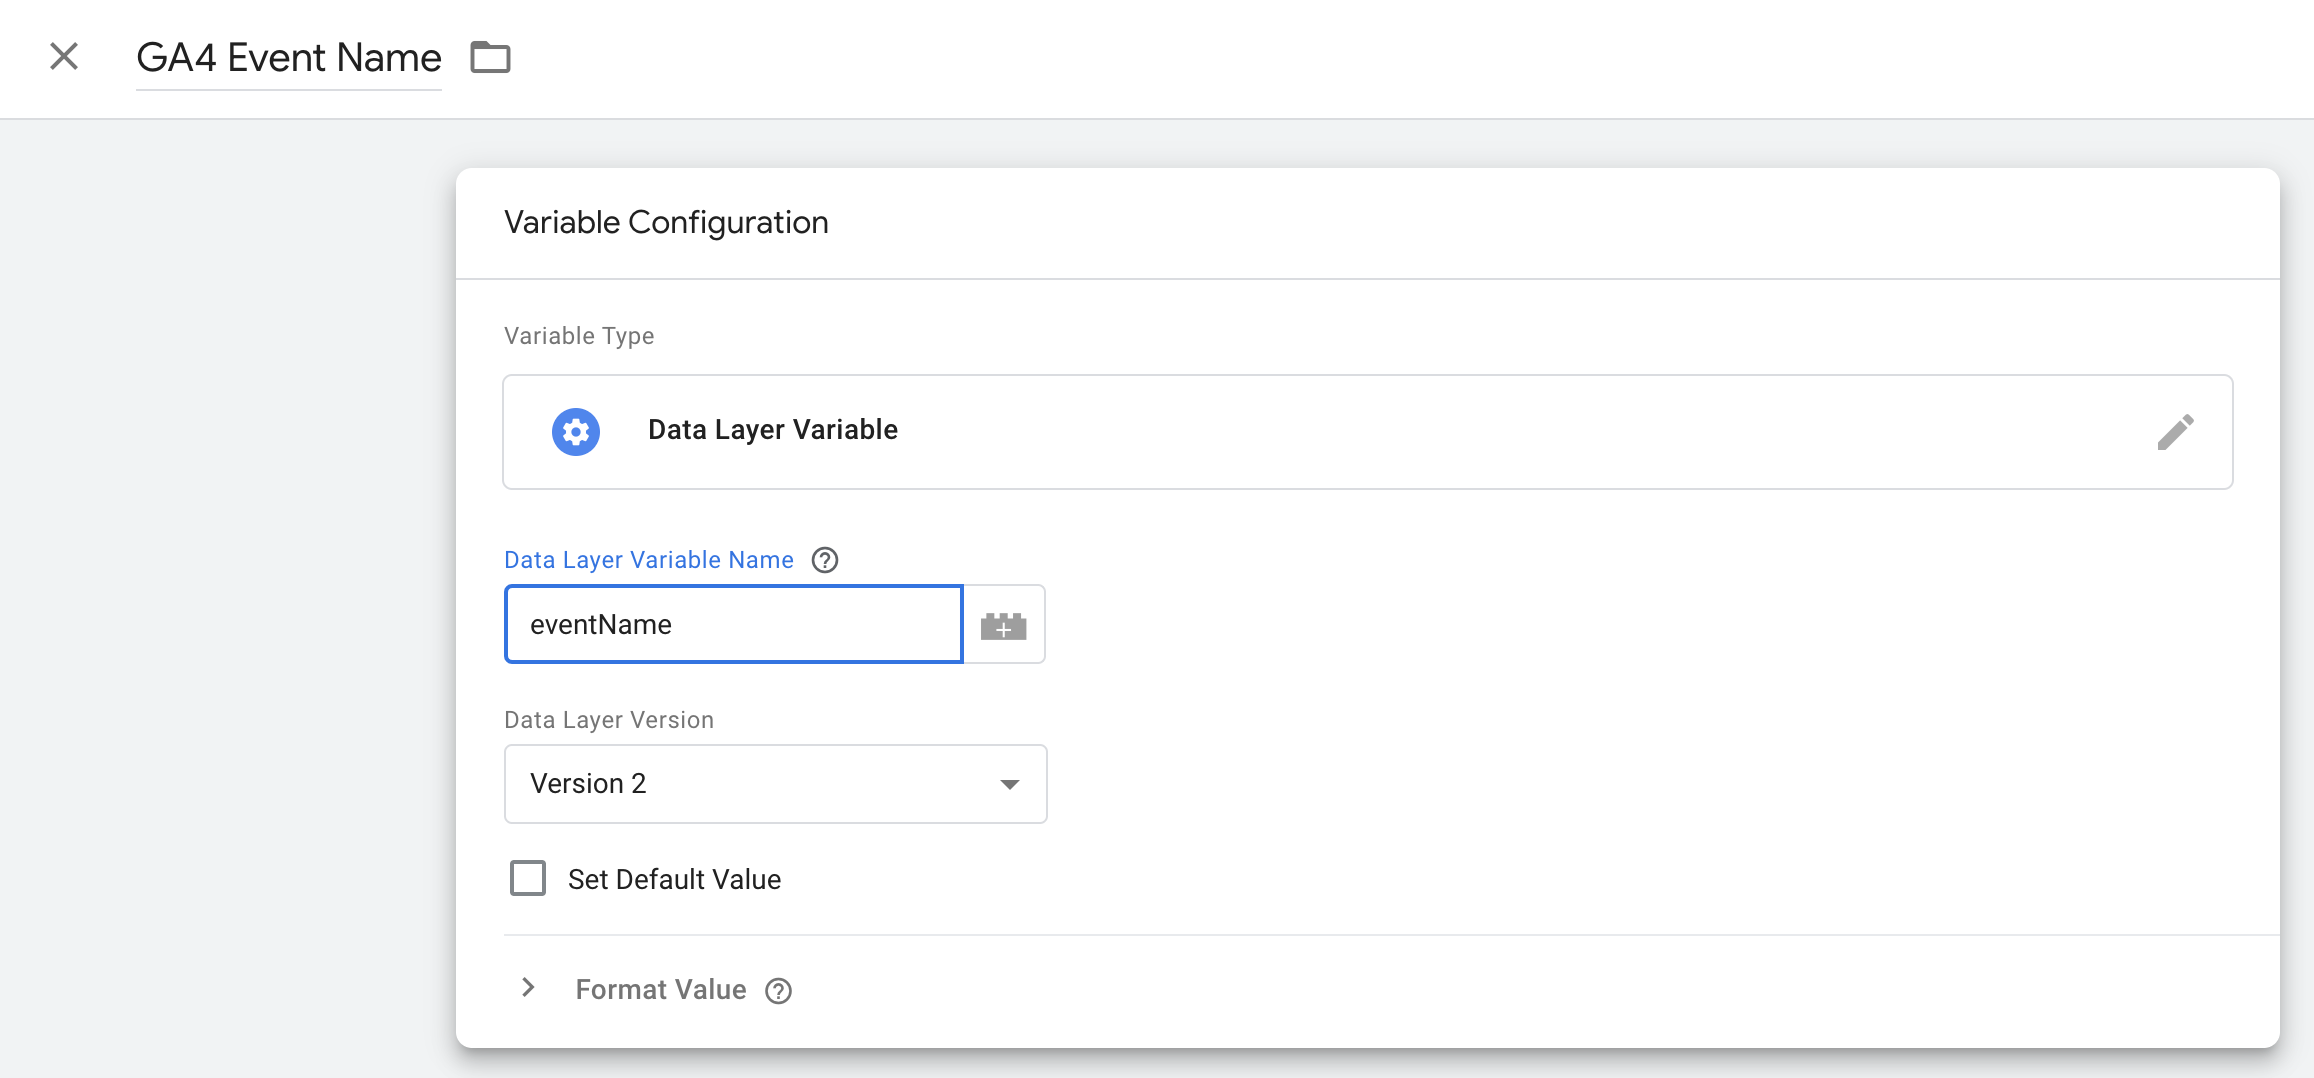
Add a title for the variable: GA4 Event Name, then select the Variable Configuration to choose the variable type and select Data Layer Variable:
Add the Data Layer Variable name: eventName:
Hit save and get back to the GA4 Event Tag to see the Event Name field filled with your new variable.
Setting the Trigger
Now we’re ready for the trigger. Select the Triggering panel below the Tag Configuration panel to open Choose a trigger modal, and then select the plus sign in the upper-right hand corner to create a new trigger.
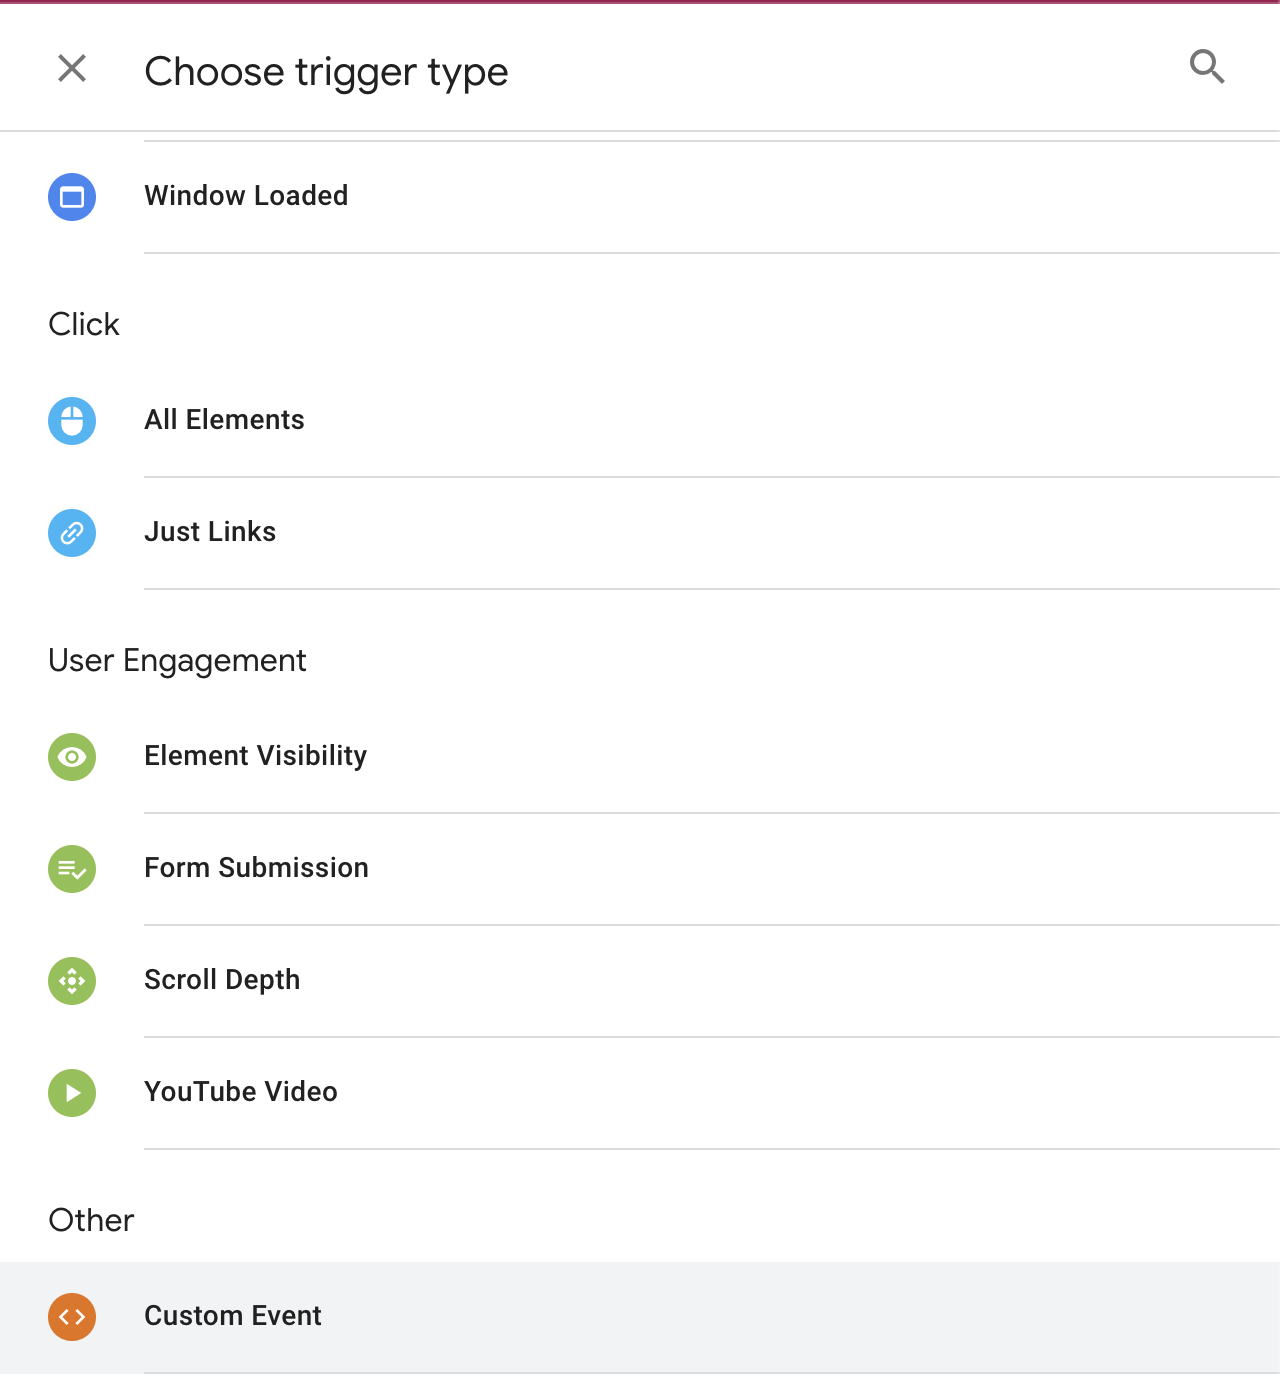
Let’s title this one GA4 Event Trigger and then select the Trigger Configuration panel to open the Choose trigger type model. Just like we did in UA, we’ll choose Custom Event:
Add “ga4_event” for the event name and leave the rest of the options at their default state. Hit save and get whisked back to the tag to see your trigger added:
Hit save and your trigger is now ready to receive data from the dataLayer.
Adding the Event
We will use the dataLayer push method in order to trigger the event. Add the following snippet to your javascript:
window.dataLayer.push({

 "event": "ga4_event",

 "eventName": "my_custom_event"

});
Let’s break this down so you’re not blindly copy pasting my code and getting frustrated:
window.dataLayer.push() is the function we use to send an object to the dataLayer. Google Tag Manager will read that data where we have triggers that will listen for and use that data to track our events.
event is that Custom Event firing trigger and ga4_event was the event name we told GTM to listen for. We are telling GTM, “hey there was an event, a ga4_event to be specific” and we have the tag set to trigger when it hears that.
eventName is our custom variable that we created to pass as the event name that GA4 will display in the reports. my_custom_event is that event name. This can be anything you want but with two exceptions:
- no spaces or other special characters. underscores, letters, and numbers only
- can’t start with a number
Now this isn’t human readable unless you’re a javascript ninja, but Google thinks your marketing team lead is so it’s just gotta be like that for now. Capital letters aren’t forbidden but I avoid caps since Google’s recommended and default events seem to follow an all lowercase convention.
Testing
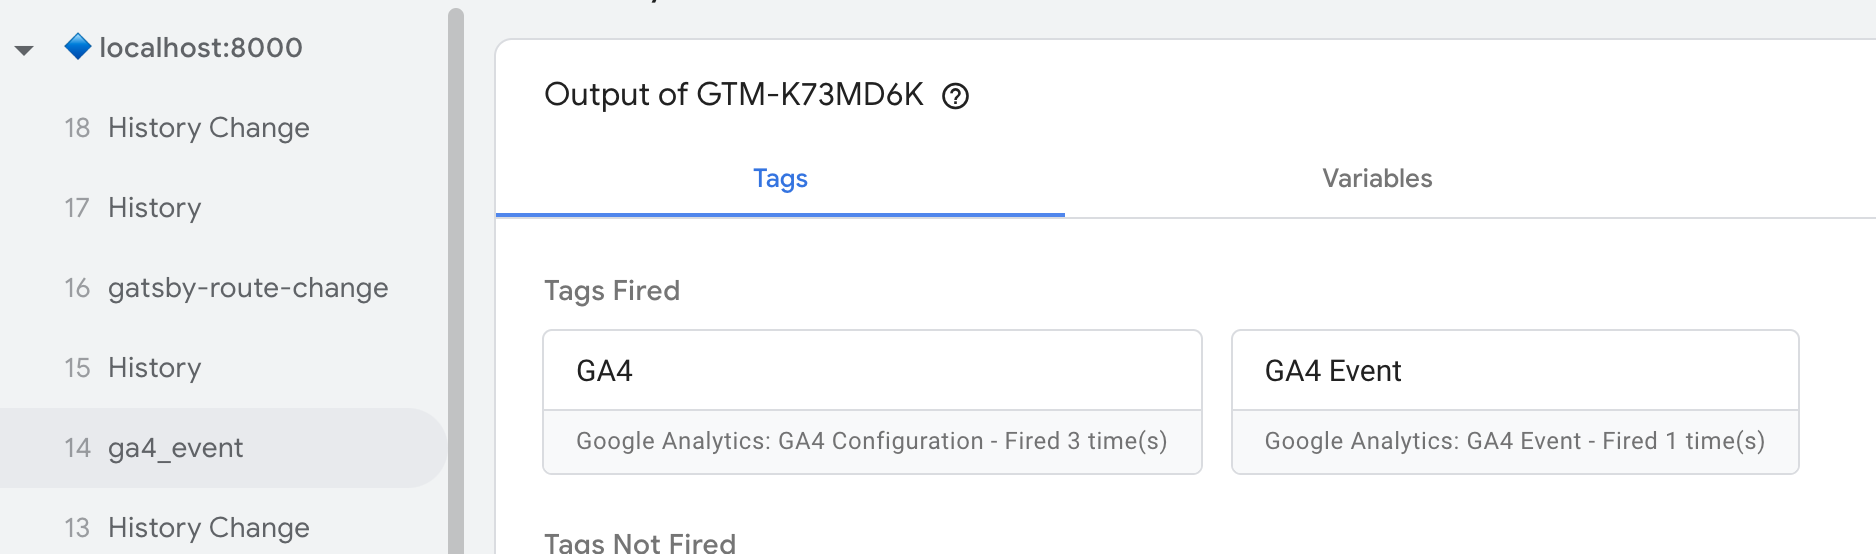
Select the preview button and enter the URL you want to test your new trigger on. You should see ga4_event in the Summary and GA4Event in the Tags Fired panel when you initiate your event:
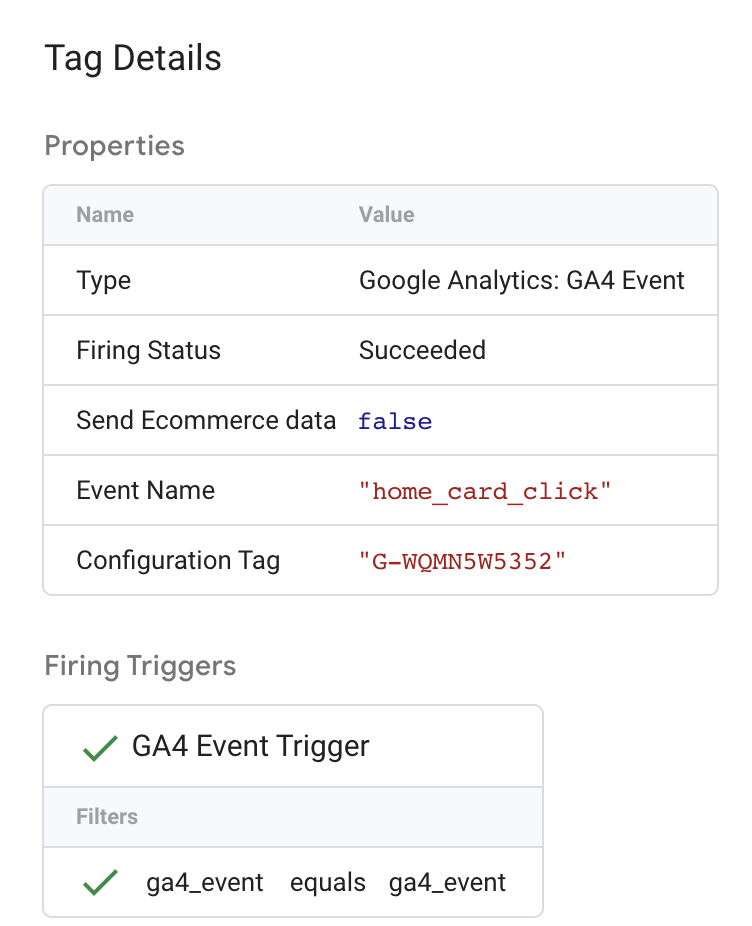
If you select the GA4 Event, you should be able to see all the details of the tag, including the definition of your eventName variable in the Event Name object we pass that data into:
Now lets head over to our Analytics Property and view the realtime data to see our event (Reports > Realtime):
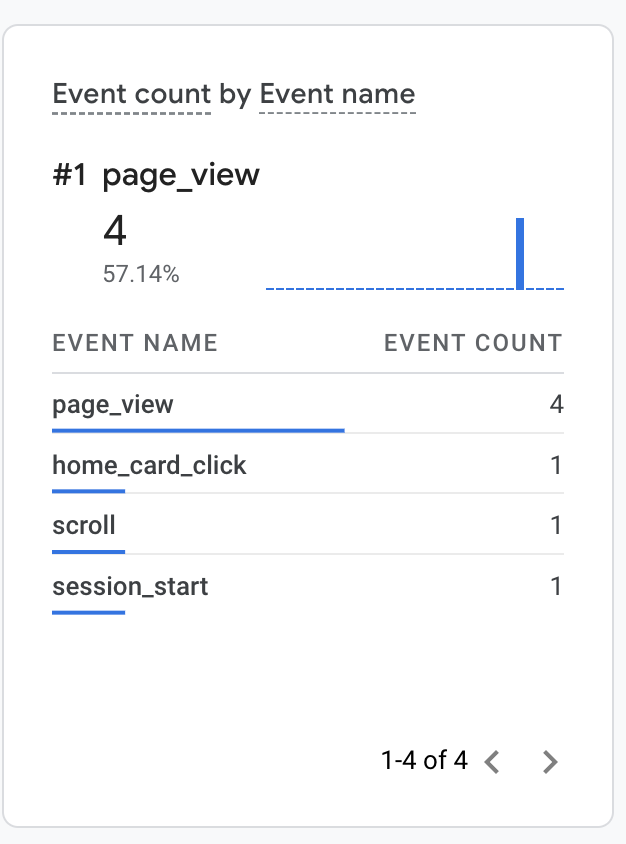
Hooray! We did it…hopefully. Please reach out if you had any issues configuring your event.