Google Analytics 4 is here and Universal Analytics is set to end on July 1, 2023 so let’s take advantage of the update and set up Google Tag Manager. In this guide, I will cover how to set up a Google Analytics 4 property. You can skip to the instructions if you don’t want to read all about the new changes.
About Google Analytics 4
Google Analytics 4 (GA4) is the latest iteration of Google Analytics. A lot has changed in how events get tracked and how to view your site’s data. GA4 added some automatic tracking for page scrolling, file downloads, and clicks. You will still likely need to configure custom events, but they added some recommended events with parameters specific to the event instead of the old system that was limited to action, category, and label. If you’re not enthralled by these new features or don’t know what in the heck I’m talking about, that’s okay. Google Analytics 4 will be the only way for you to track analytics on your website (via Google for free) so like it or not you need to set it up on your site.
About Google Tag Manager
If you don’t already know, Google Tag Manager (GTM) is the best way to configure your analytics and events, add tracking pixels and other code to the head of your site, and take advantage of Google Suite products like Ads or Search Console. Google Tag Manager makes it so that you don’t ever have to touch your site’s code again, after installation of course. You can trigger events based on link text and drop in tracking pixel code with ease. Plus it’s what all us elite, level 9000 javascript-fu masters use so more than likely the integrations you need will play nice with GTM and have docs to support it.
NOTE: If you use drag and drop site builders like SquareSpace, Shopify, or Wix, you should not configure a Tag Manager container since they will have everything set up to send data to GA4 directly. You should just set up the GA4 property according to their instructions: Add the tag to a website builder or CMS-hosted website (e.g., HubSpot, Shopify, etc.).
Steps
Create a Google Analytics 4 Property and Get Measurement ID
As of writing this (before the July 1, 2023 deadline), Google Analytics has added a setup assistant that will assist you in creating a GA4 property that makes creating a new property simple. If you’re reading this past July 1, 2023, Google has automatically created a GA4 property for you so you can skip to the Create a Google Tag Manager Container instructions
1. Go to your analytics dashboard and select the wee gear icon to go the admin menu:

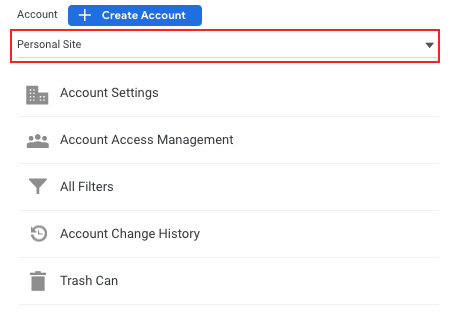
2. Once in the Admin menu, make sure your Account is selected in the Account Column:
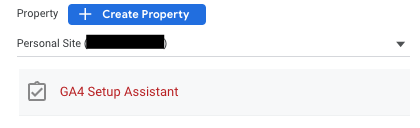
3. Make sure your current UA account is selected, then select GA4 Setup Assistant:
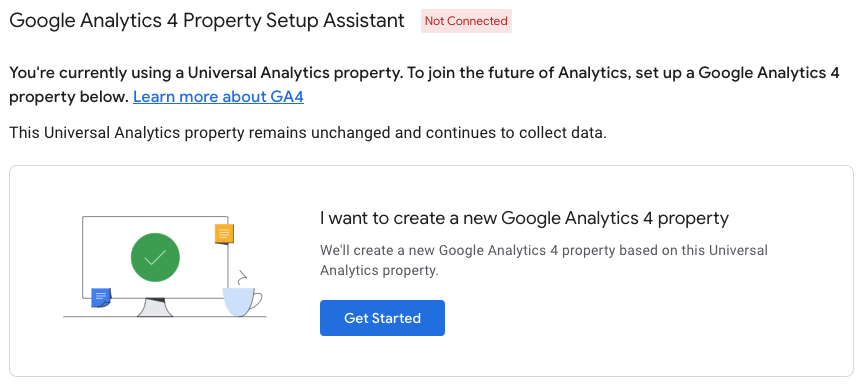
4. Select Get Started on the Setup Assistant panel that appears to, guess what, get started:
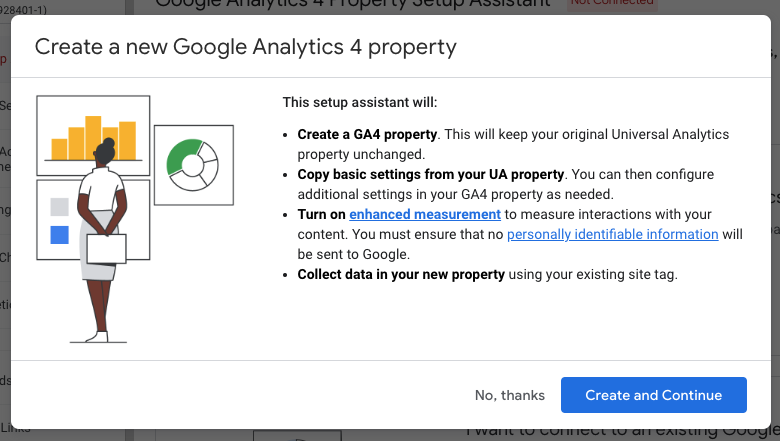
5. Select Create and Continue to create your GA4 property:
That’s it! You will now see the Setup Assistant for GA4, but ignore that for now. We’re going to set up Google Tag Manager to implement GA4 tracking on your site.
Create a Google Tag Manager Container
As I mentioned earlier, GTM is the best way to implement your GA4 property on your site. I do it for all my clients and my own personal site. You will create an Account in Google Tag Manager and then set up a container which will include all of your tags. Lots of jargon, but I will break it down in the instructions for you.
1. Go to the Tag Manager dashboard, then select Create Account in order to create an account to house your container:

Your account will be your organization, and it will have containers for each of your sites. For example, if you have separate sites for your blog or shop, you will add containers that will implement GA4 properties for each of your sites.
2. The Add a New Account panel will appear. Enter your Account Name. This can be your organization name, eg My Business.
3. In the Container Setup section, add your Container name and select Web for the Target platform. This should be the URL for your site so you can instantly now where the container is installed.
4. Select Create, then agree to the terms to get to your container setup.
You will see the installation code for your GTM container, but exit out of that for now. We will focus on creating a Google Analytics 4 Tag next.
Create a Google Analytics 4 Tag
Now you should be in your workspace. You can access this at anytime by going to your Tag Manager dashboard and selecting your container.
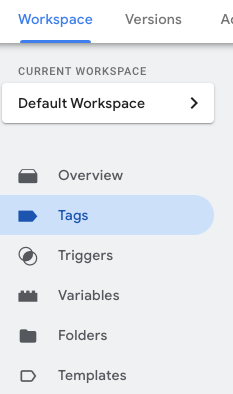
1. Select Tags from the left-hand menu:
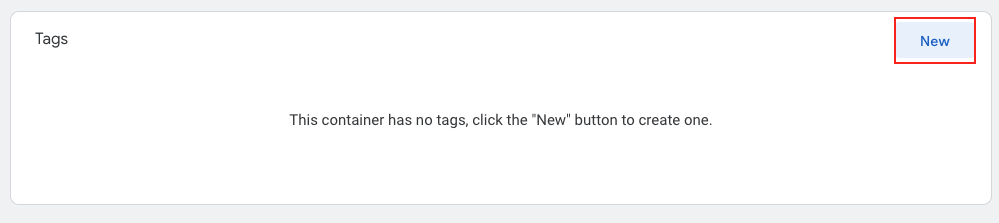
2. Select New in the Tags section:
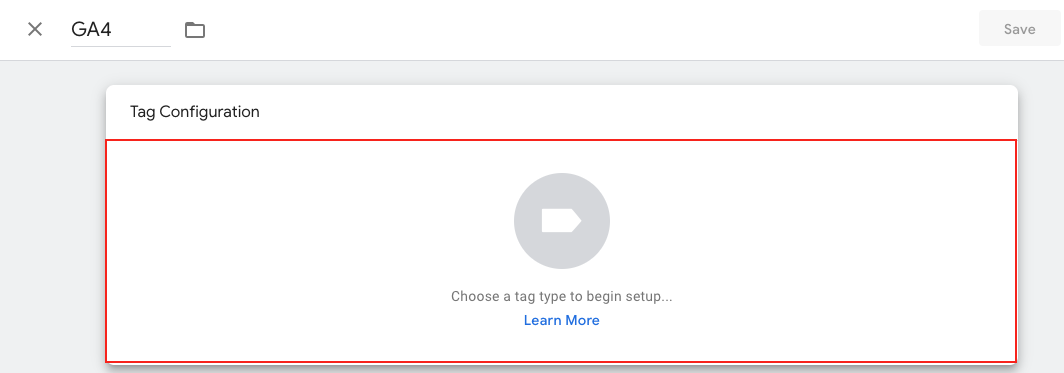
4. Now you should see a new panel that has two sections: Tag Configuration and Triggering. First, Add a title for your tag: GA4. Next, select anywhere within in Tag Configuration to bring up the menu of tags:
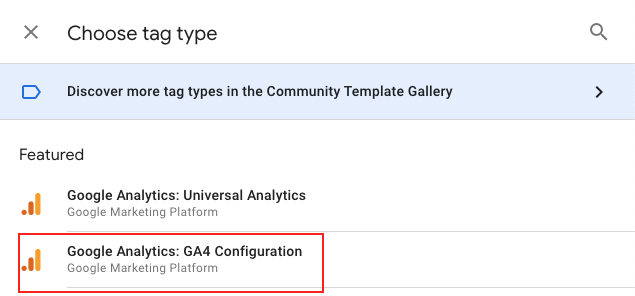
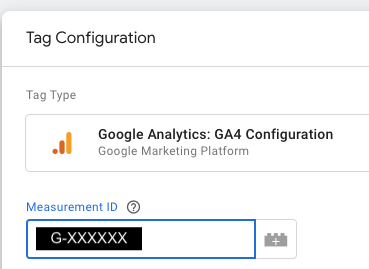
5. From the list of options, select Google Analytics: GA4 Configuration:
The GA4 configuration will appear with a blank input for Measurement ID. To get that, we need to head back to Google Analytics.
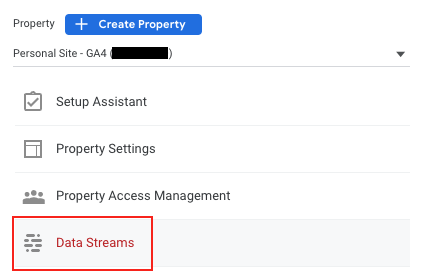
6. Go back to your Analytics Dashboard and select Admin.
7. Select Data Streams under your property:
8. Your website should be in the table of Data streams. Select it to get your property information:

Note: If your website is not shown in the table. Select Add Stream > Web, enter your URL, add a name, then select Create stream. Google has a guide for this as well.
9. In the Web steam details panel, hit the copy icon (two stacked rectangles) next to your measurement ID:

You now have your Measurement ID to add to your Google Analytics 4 Tag.
10. Go back to you Tag Manager screen and paste that Measurement ID into the corresponding field:
11. Finally we’re going to setup the debugger so we can test our analytics configuration. Select the user properties, then type debug_mode under Property Name and type true under Value.
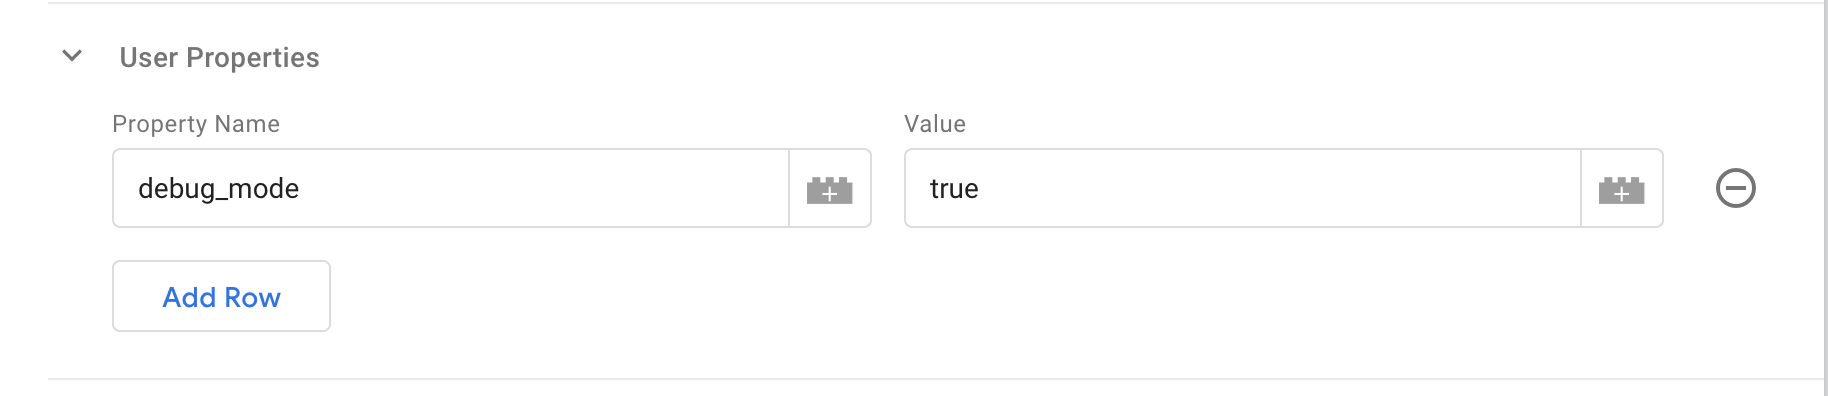
Now we’re ready to set our trigger.
Configure the Google Analytics 4 Tag Trigger
GTM listens to triggers to fire the tag. In this scenario, we’re going to tell GTM to listen for when any page loads on our website to trigger the Google Analytics 4 tag. This will successfully load GA4 on your website so you can track those views.
I’m assuming you still have the tag open, but if you don’t then go to Tag Manager, select your container, select Tags from the lefthand menu, then select your GA4 tag (or whatever you named it) from the tags table.
1. Select anywhere in the area within Triggering to open the triggers menu:
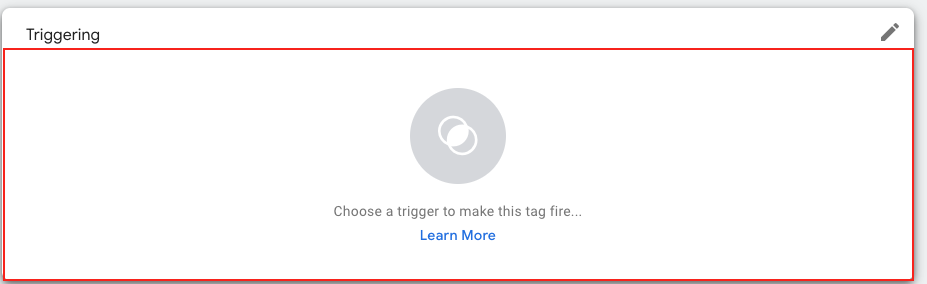
2. From the triggers menu, select All Pages:
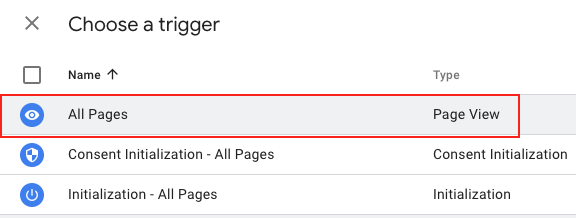
In this tag, we’re telling GTM to load this GA4 configuration when any page of your website loads.
3. Select Save in the top right corner.
4. After the tag minimizes, select Submit to bring up the Publish menu. Then select Publish to see a silly high school yearbook quote. It will ask you to name your version, but you can just hit skip or type “Installed GA4 all by myself! Shout out Ed!”.
Now your GTM container is setup and GA4 is set to load on our site. Let’s get GTM installed on your website.
Installing the Google Tag Manager Container
We got your GA4 property set up, our Tag Manager container ready with our GA4 tag and page load trigger, now it’s time to install the container onto your website. The best way is to manually install the scripts within your code, but I respect that some people don’t have access to their code and most likely use Wordpress so I added instructions for both.
Manual Installation
1. Go to your Tag Manager dashbord and select your container.
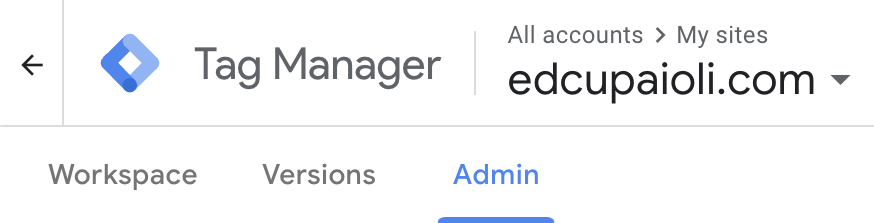
2. Select Admin from the top menu:
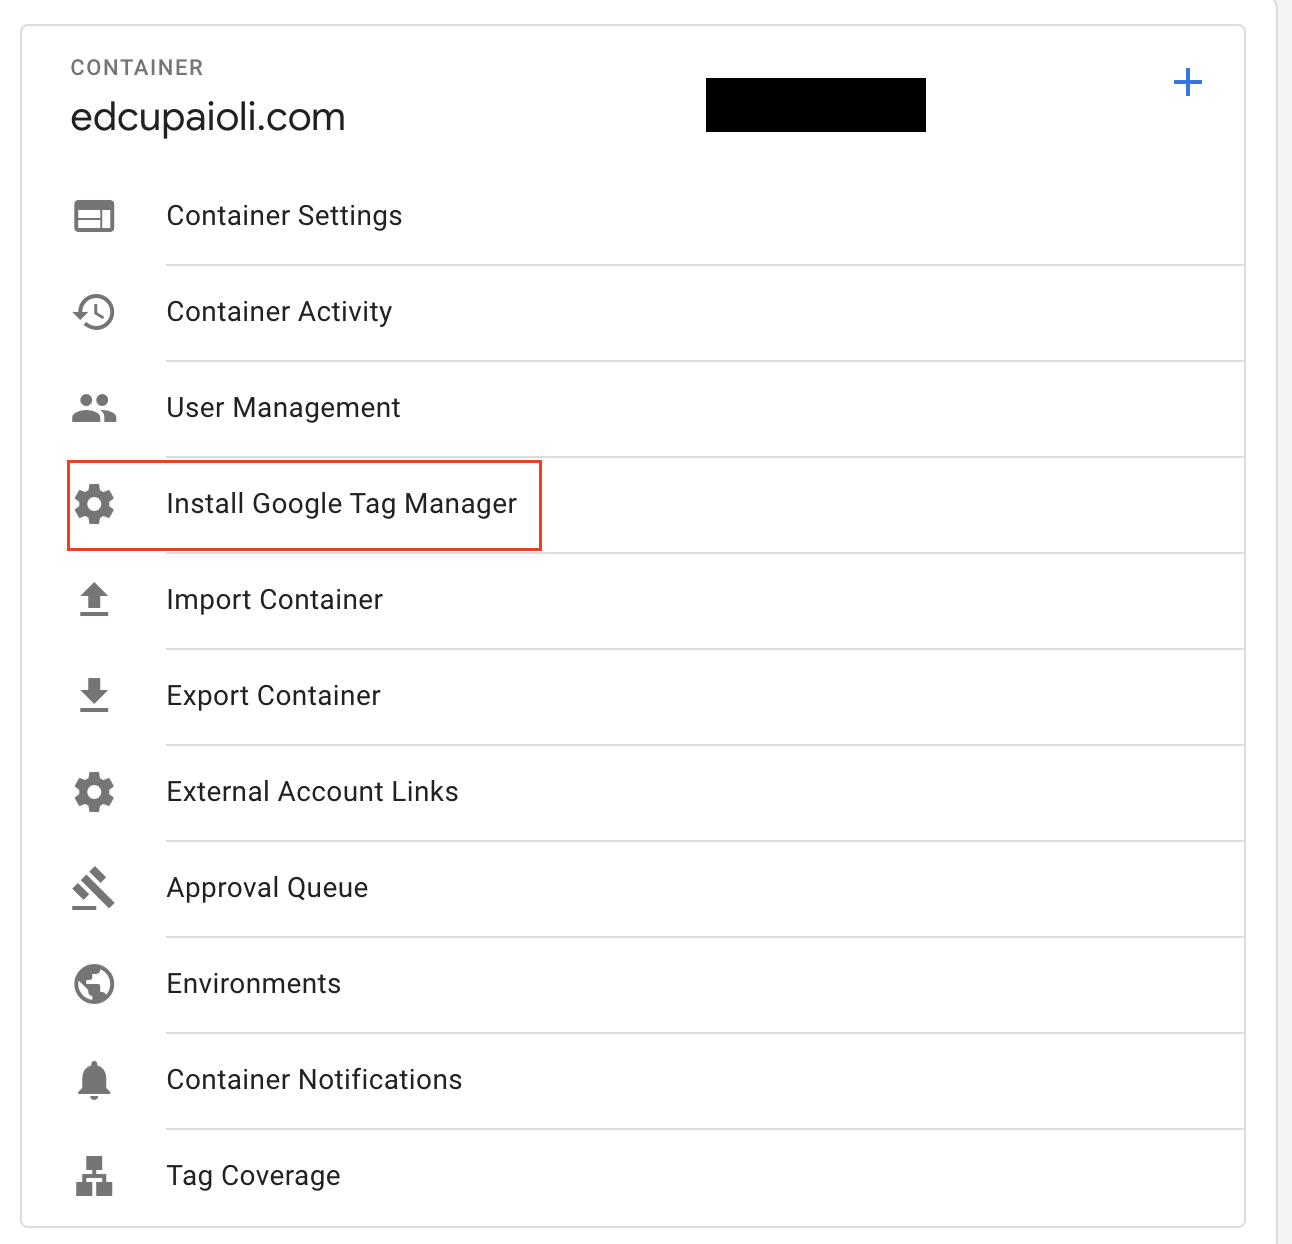
3. Select Install Google Tag Manager from the menu that appears:
4. Now you should see two code snippets to copy. We’re going to take each of those snippets and place them at the opening of the head and body tags.
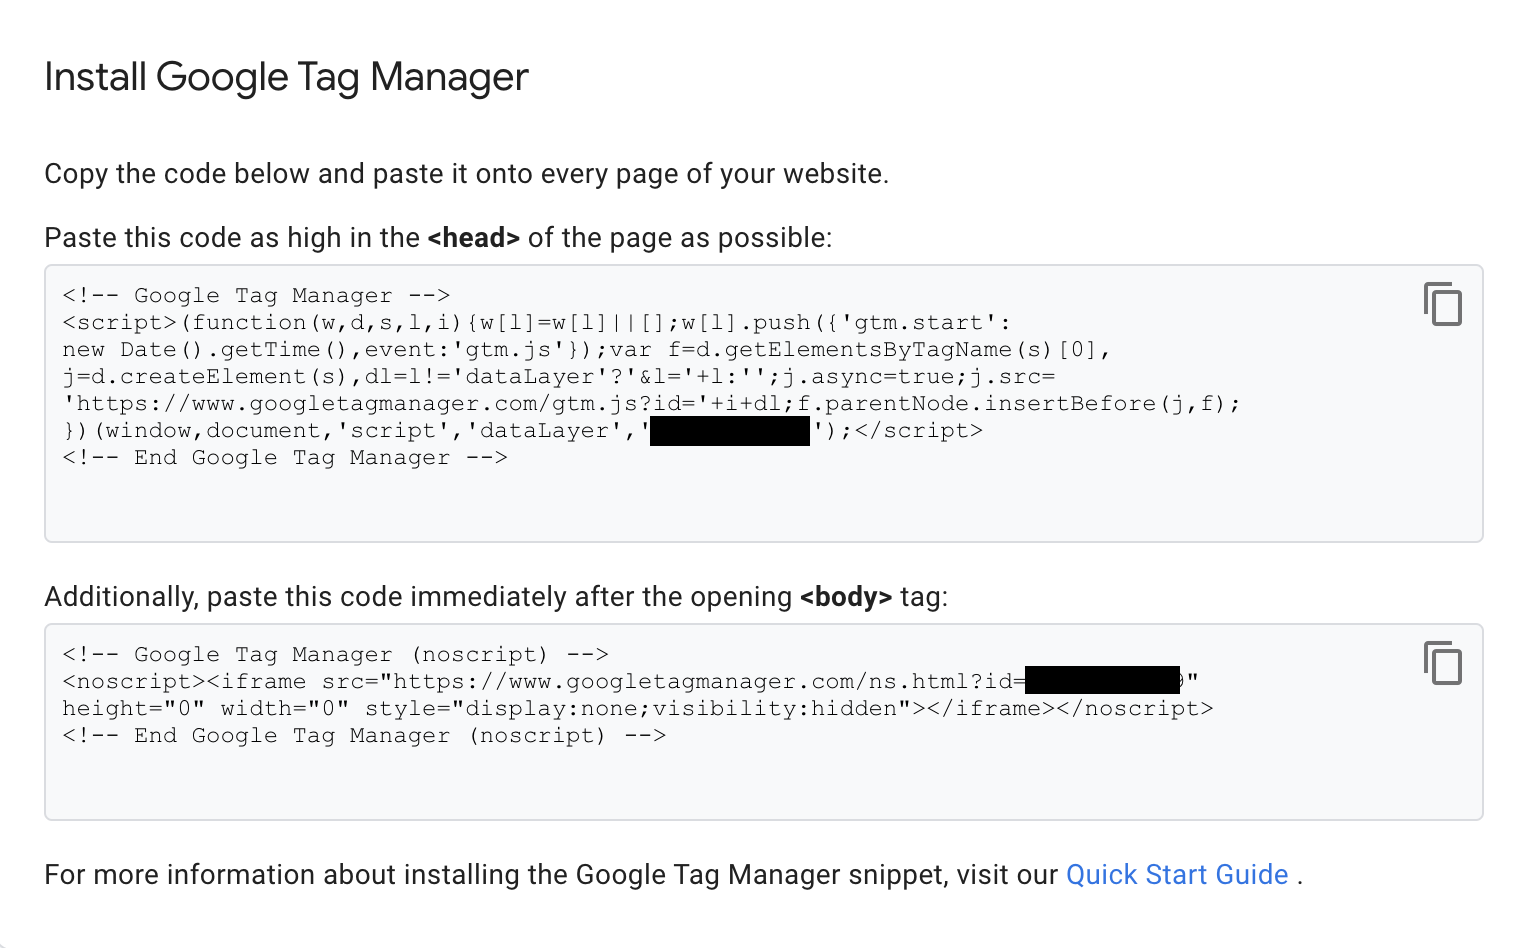
Place the code in the head and body after the openings of each tag. You can see in my example below I have the code right after <head> and <body> appear in the DOM. If you have trouble finding these tags, download the code locally to a directory (a folder), then open it with a code editor like VS Code. Use the Find function to locate <head> and <body> and enter the code respectively.
<html>
  <head>
  <!-- Google Tag Manager -->
  <script>(function(w,d,s,l,i){w[l]=w[l]||[];w[l].push({'gtm.start':
  new Date().getTime(),event:'gtm.js'});var f=d.getElementsByTagName(s)[0],
  j=d.createElement(s),dl=l!='dataLayer'?'&l='+l:'';j.async=true;j.src=
  'https://www.googletagmanager.com/gtm.js?id='+i+dl;f.parentNode.insertBefore(j,f);
  })(window,document,'script','dataLayer','GTM-XXXXXX');</script>
  <!-- End Google Tag Manager -->
  <title> Home | My Webite </title>
  <meta content="For demo GTM installations" name="description">
  <link href="/css/style.min.css" rel="stylesheet" type="text/css">
  <script src="/js/functions.js"></script>
  </head>
  <body>
  <!-- Google Tag Manager (noscript) -->
  <noscript><iframe src="https://www.googletagmanager.com/ns.html?id=GTM-XXXXX"  height="0" width="0" style="display:none;visibility:hidden"></iframe></noscript>
  <!-- End Google Tag Manager (noscript) -->
    <nav>
      <ul>
        <li><a href="/">Home</a></li>
        <li><a href="/about">About</a></li>
      </ul>
    </nav>
    <main>
      <section>
        <h1>My website</h1>
        <p>My fake website is neat!</p>
      </section>
    </main>
    <footer>Copyright 2023</footer>
  </body>
</html>
Save it and push it to your repo or use FTP on production like a madman. Either way, your GTM container is set up on your website.
Wordpress Installation
You can follow the example above if you have access to your source code and your body and head are accessible, but a lot can go wrong if you’re still a newbie so let’s use a plugin.
There’s plenty of third-party plugins that get GTM on your Wordpress site like Monster Insights and GTM4WP that contain lots of functionality, but there’s no guarantee they will continue to be supported. Google has their own plugin, SiteKit, that will do the trick and it will definitely stick around since it’s a vehicle for their products.
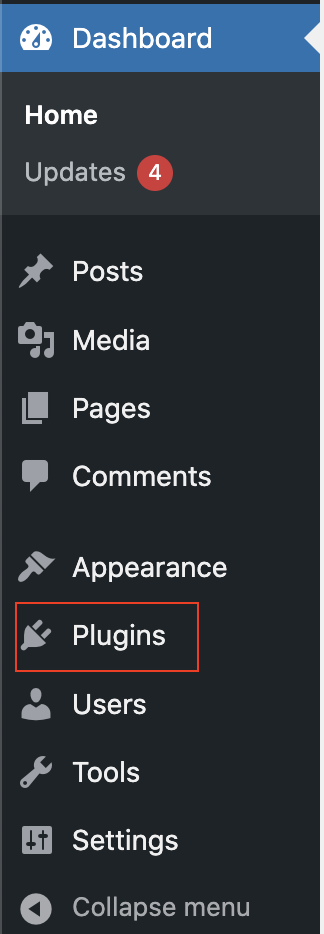
1. Go to the admin dashboard of your website and select Plugins
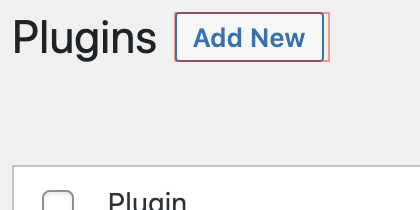
2. Once in the plugins panel, select Add New:
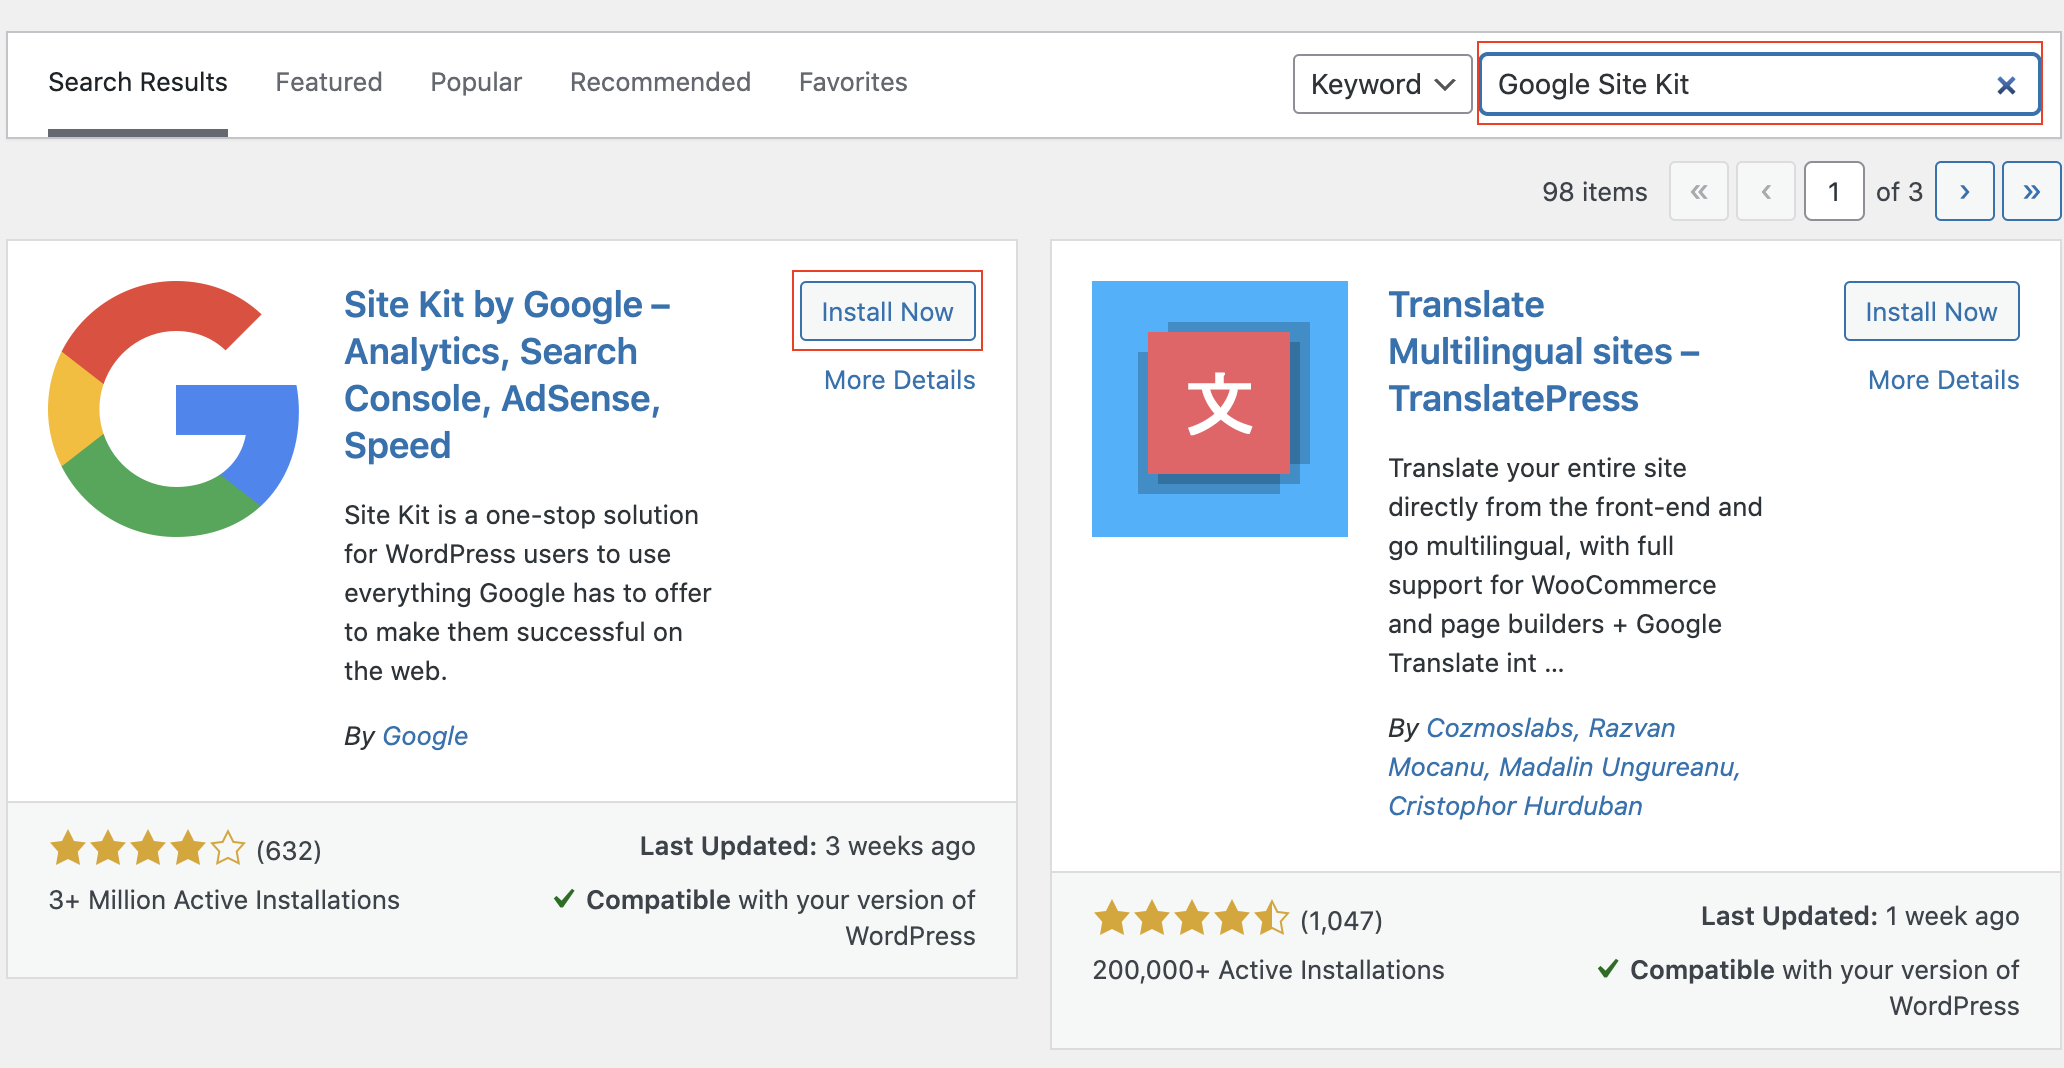
3. Type “Google Site Kit” into the search box, then select Install Now within the Google Site Kit box to install the plugin.
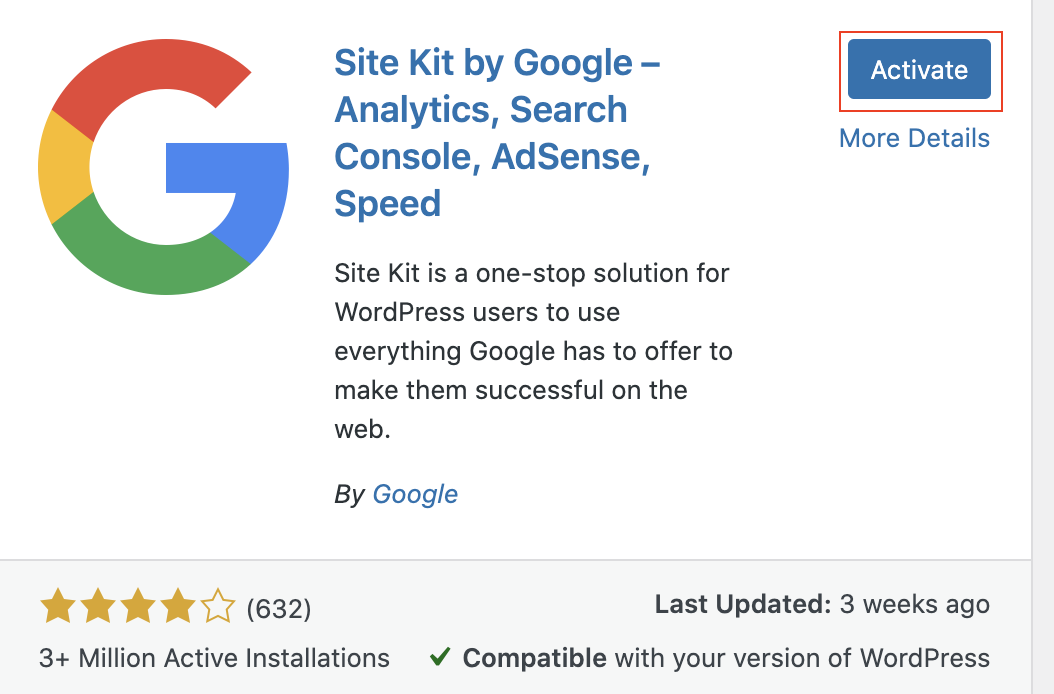
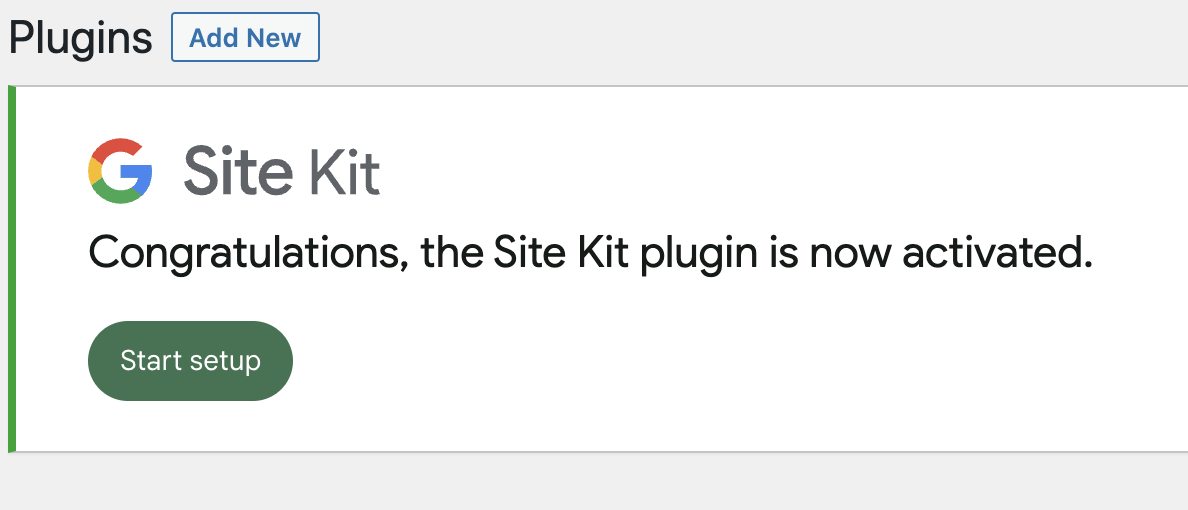
4. Once the plugin is finished installing, select Activate to begin setting up the plugin.
Once the plugin is activated, it will appear in your dashboard for you to access at any time:
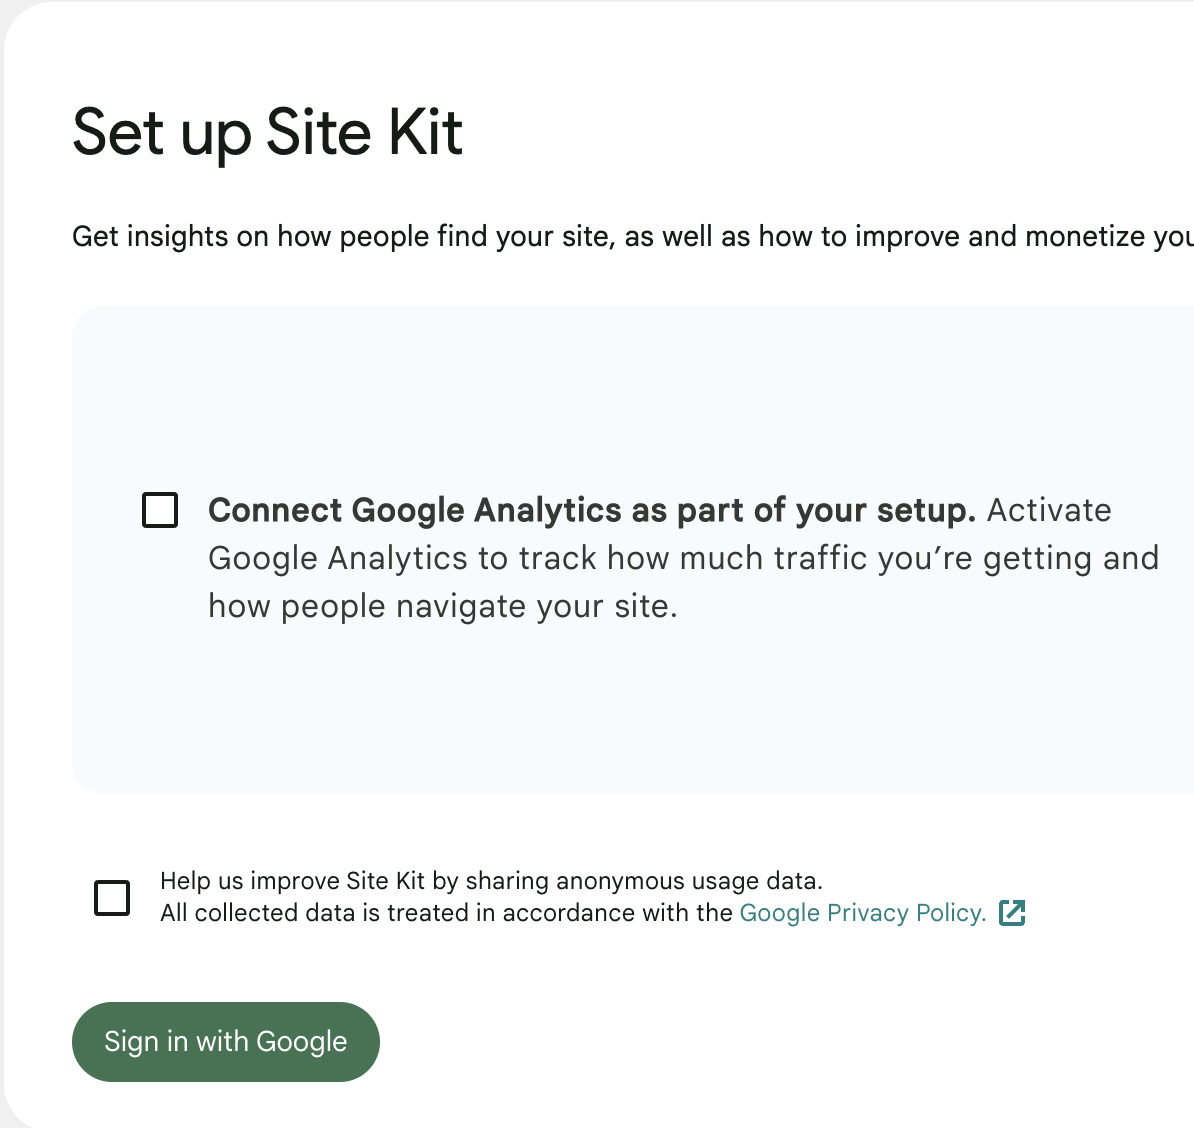
5. Select Start setup on the plugin page to get started in configuring the plugin with Google Tag Manager.
6. With the plugin open, select Sign in with Google. This will display a prompt that will allow you to login with the Google account you set up Analytics and Tag Manager with.
7. Once you signin, Google will ask for permission to access your account. Check the two additional boxes that will grant access to Search Console and domains:
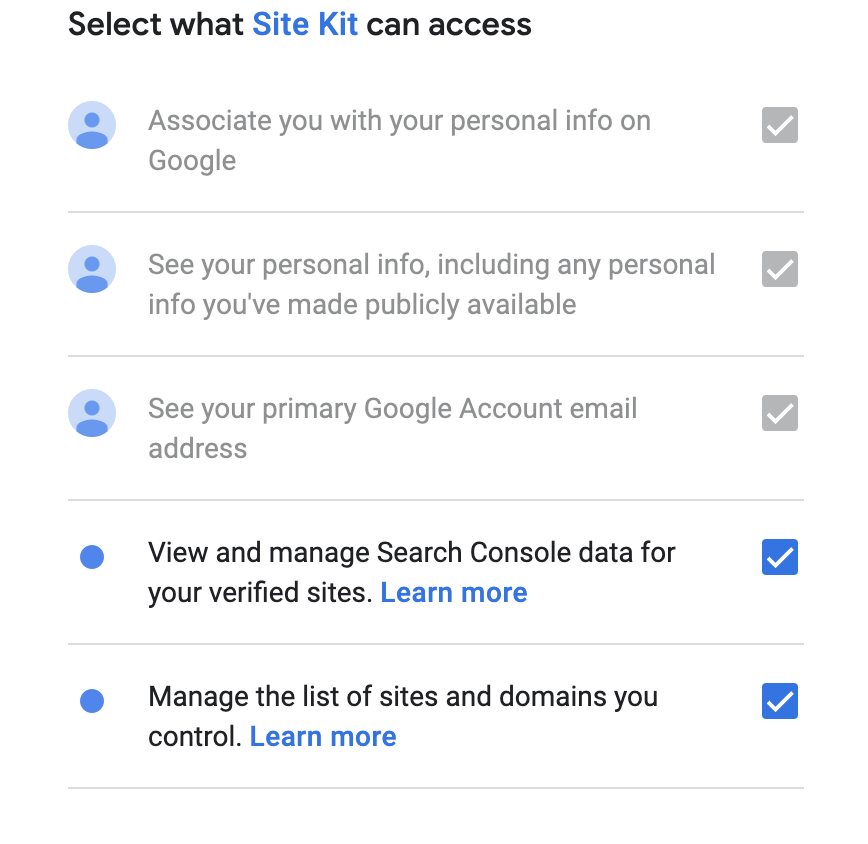
Although we just want to add our Tag Manager code, Site Kit won’t allow you to proceed with the setup without allowing them access to everything, which will prompt them to install Search Console.
8. Select the blue buttons for each step as it will not allow you so selectively install the one thing we want: Tag Manager.
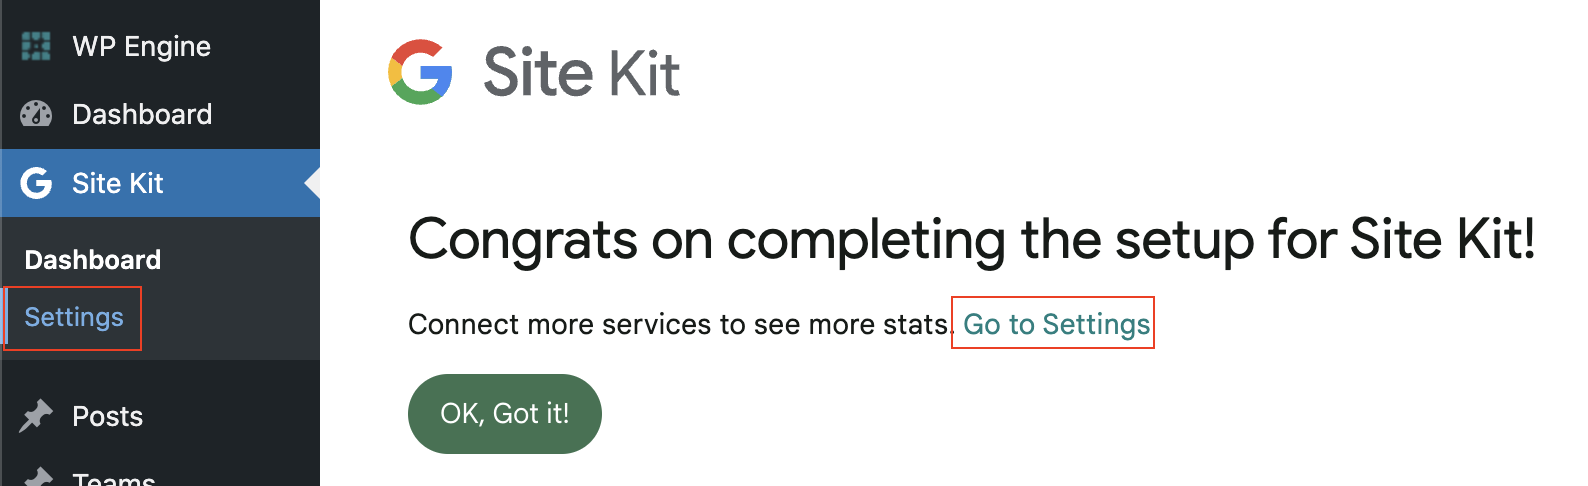
9. Once you complete the setup, you will get to access the Settings panel that will allow us to add GTM. Select Settings from the side menu of the dashboard or select Go to Settings in the success message:
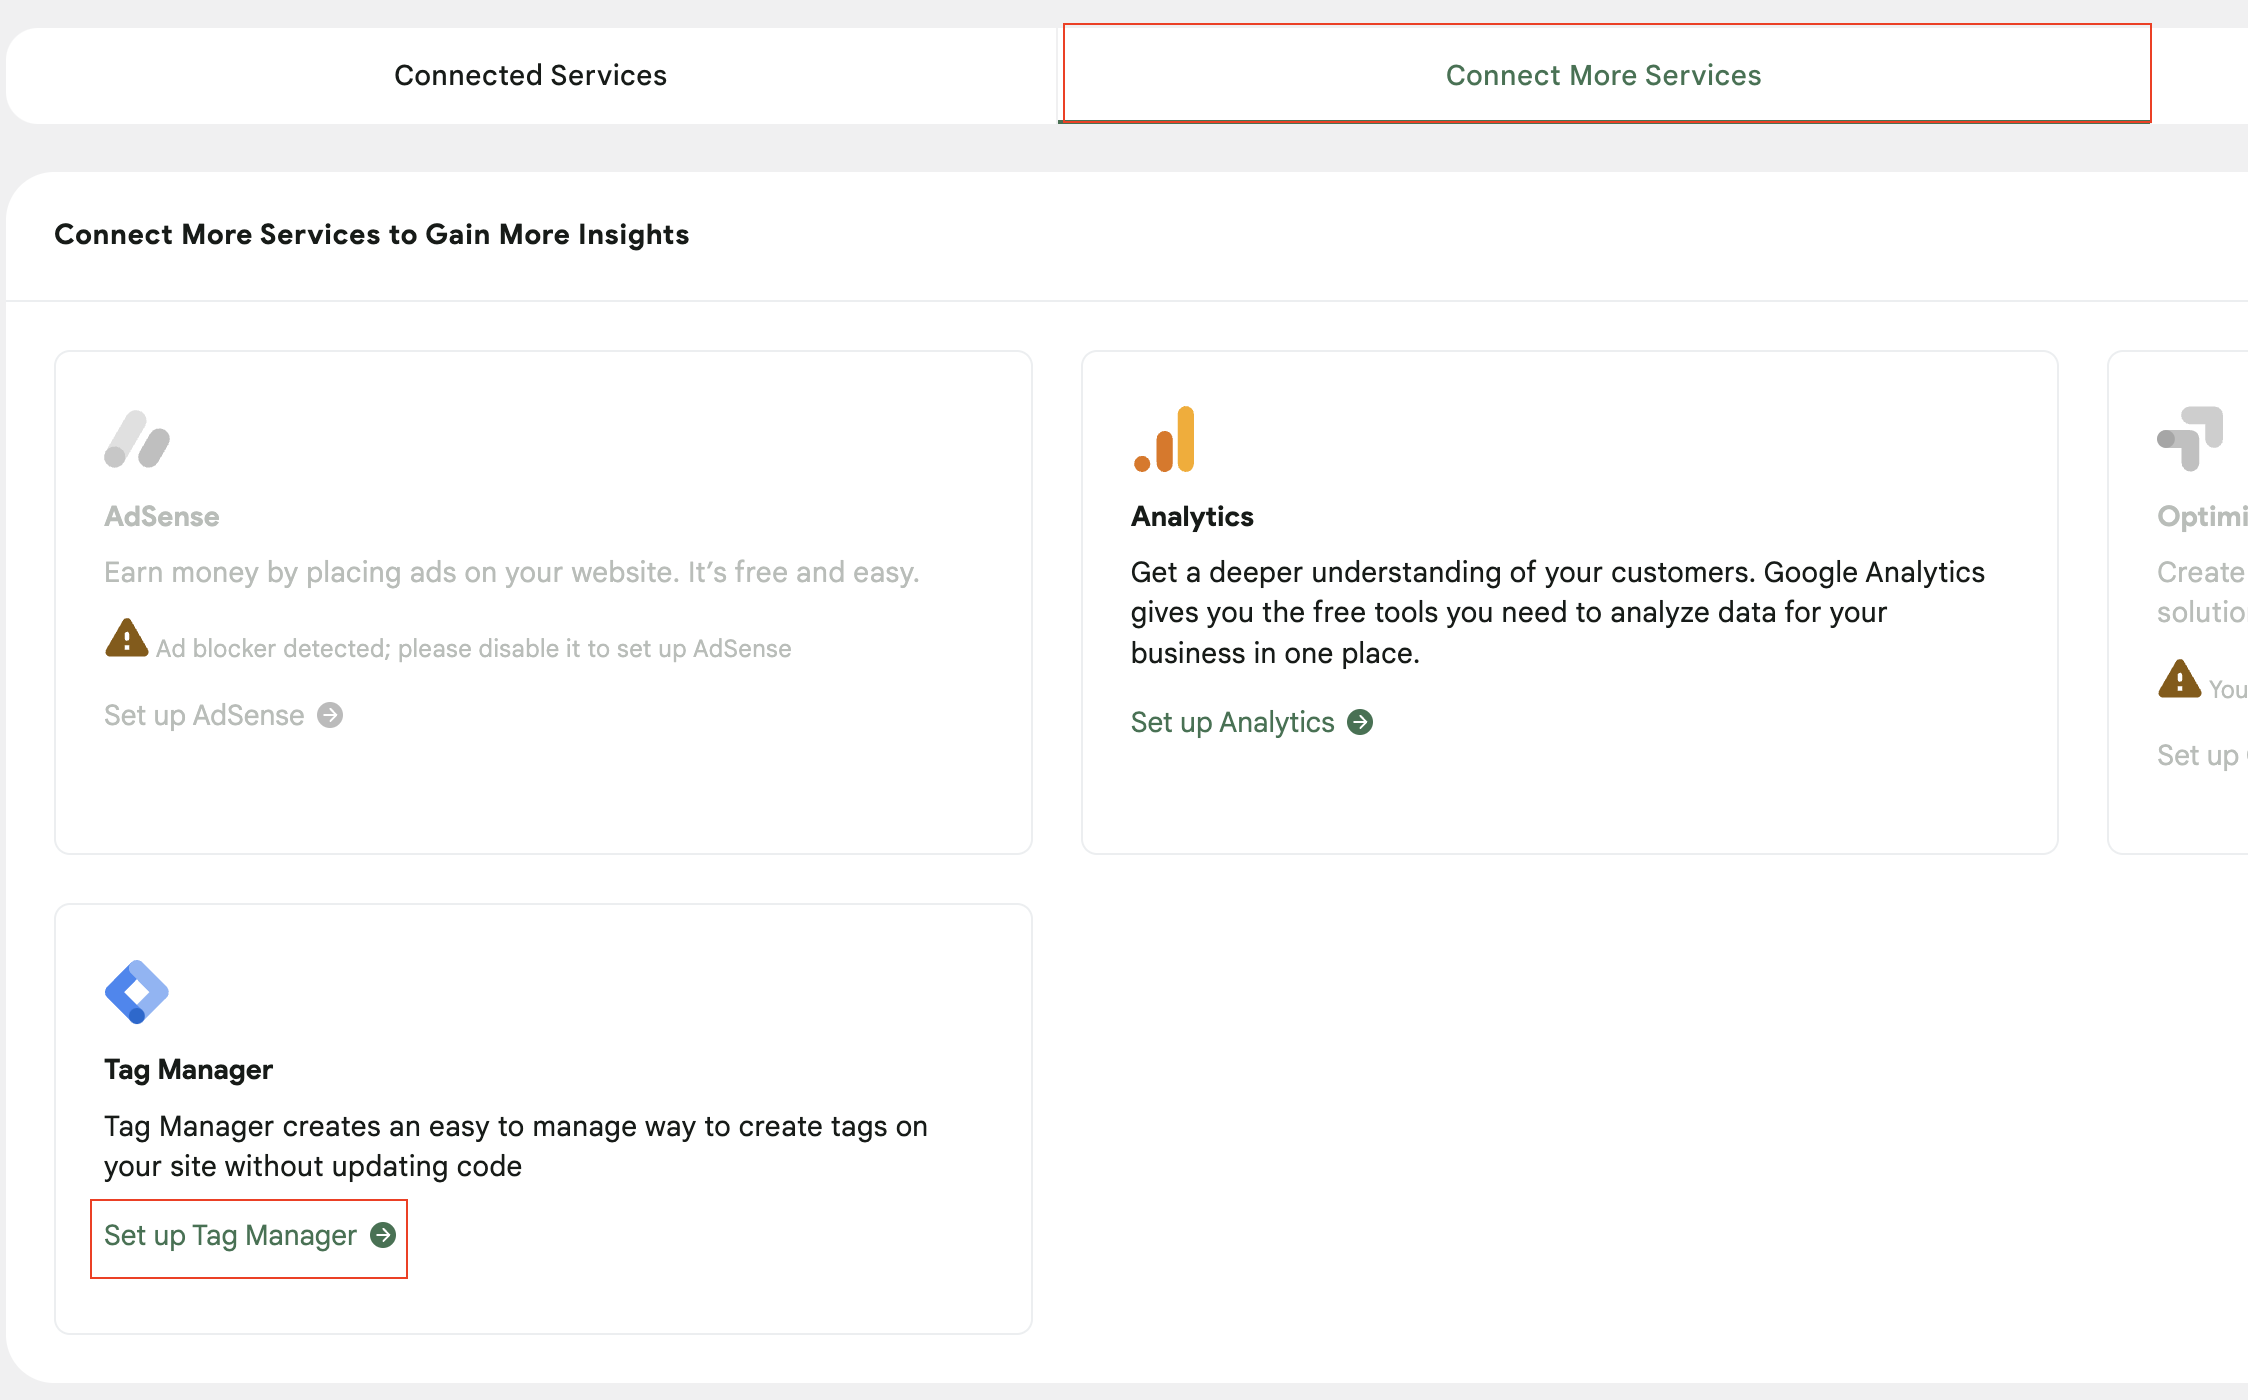
10. Select Connect More Services from the menu then select Set up Tag Manager
11. Google will ask us to allow them access to your account again, but there’s no bonus checkboxes this time. Just make your you’re signed into the account you created the Tag Manager container with and select the continue prompts.
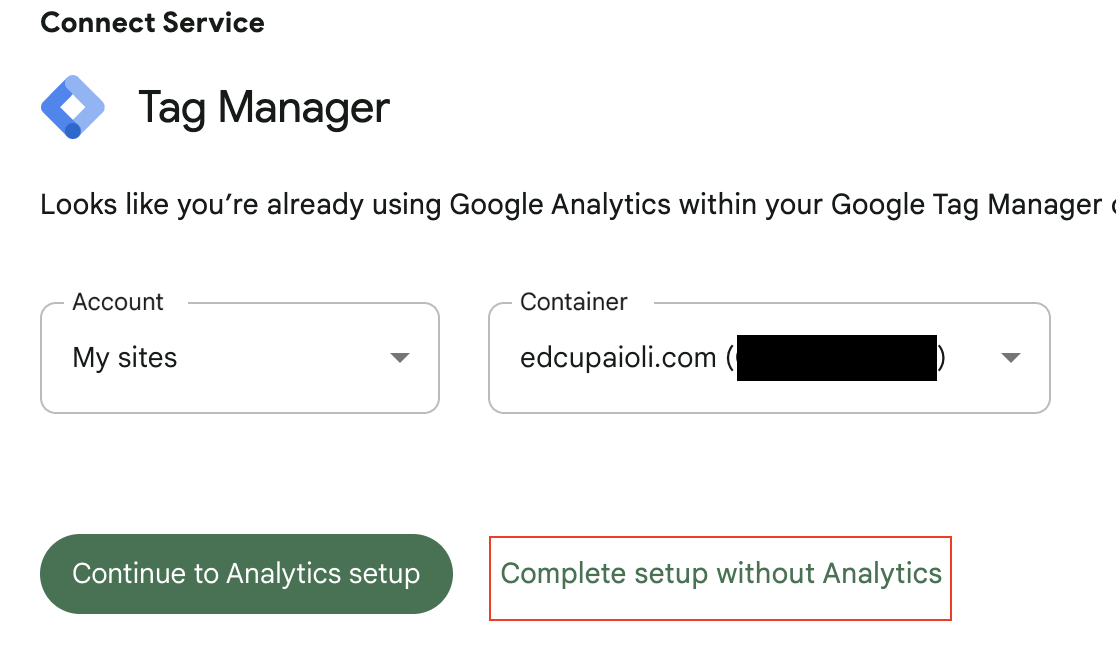
12. Select your tag manager account, then the container for your site, and finally select Complete setup without Analytics (we already set it up!).
 That’s it you’re all set up and ready to test your configuration. Plus you now have Google Search Console to track what terms people use to find your website through Google.
Test Configuration
So far you have set up Google Tag Manager and Google Analytics. Now it’s test to see if it’s working. Both Tag Manager and Analytics have helpful tools to test out our configurations.
Use Preview Mode in Tag Manager
First, we’ll use Preview Mode in Tag Manager to see if loading a page triggers the Analytics tag we set up.
1. Go to tagmanager.google.com and select your container for your website.
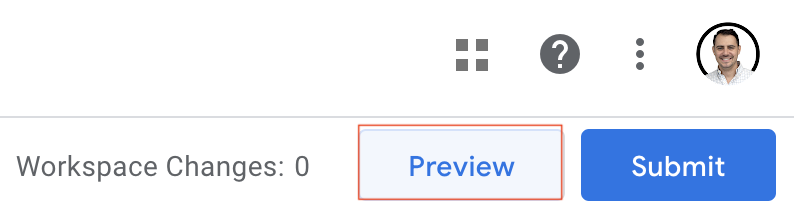
2. Select the Preview button in the upper right-hand corner to enter preview mode:
3. Tag Manager will open a new window, for the Tag Assistant. Enter your website’s URL in the input then select Connect.

4. After you select Connect, your website should open in a new tab and display a wee modal in the bottom right corner to confirm your Tag Assistant is connected:
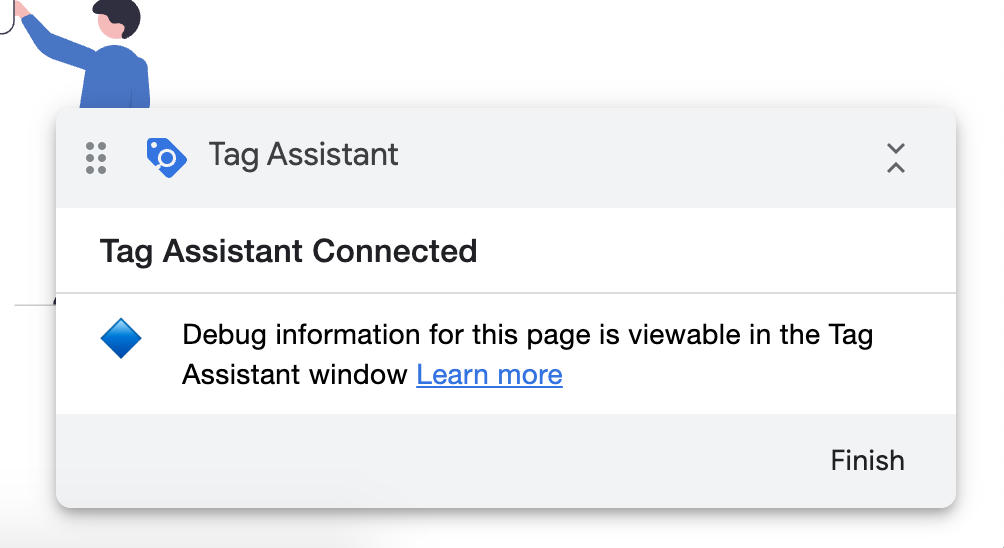
Go back to the Tag Assistant tab so see all the tags loading on your website:
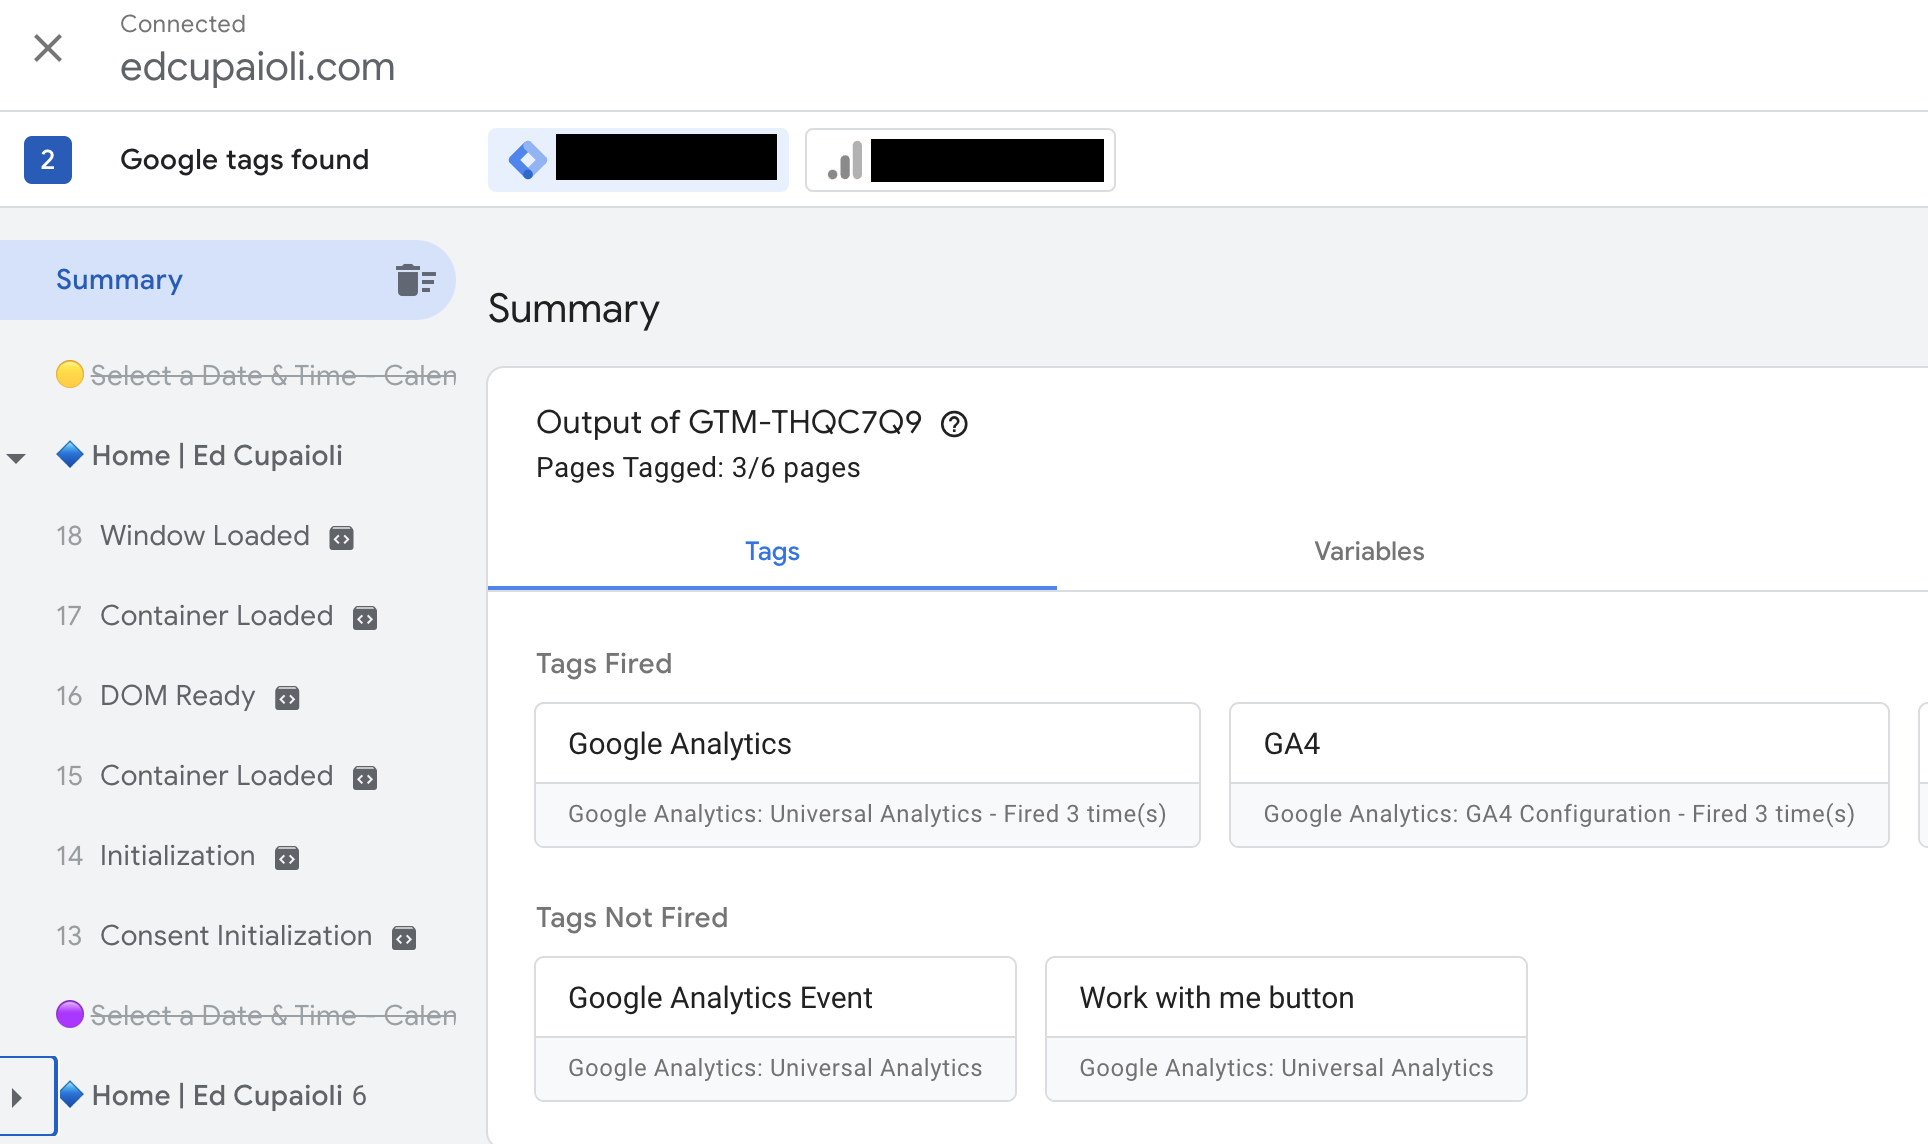
The Summary view (highlighted in blue) will show you all the tags loaded on your website. You can select each of the actions below so see what gets triggered when, but that’s more relevant for event tracking. The important thing to see is that your tag container is loaded on your website and GA4 is loading as well. I can see that GTM is connected to my site and my GA4 tag gets fired when the site loads for a page view.
You can select the GA4 tag to see a summary of the tag and when it fired:
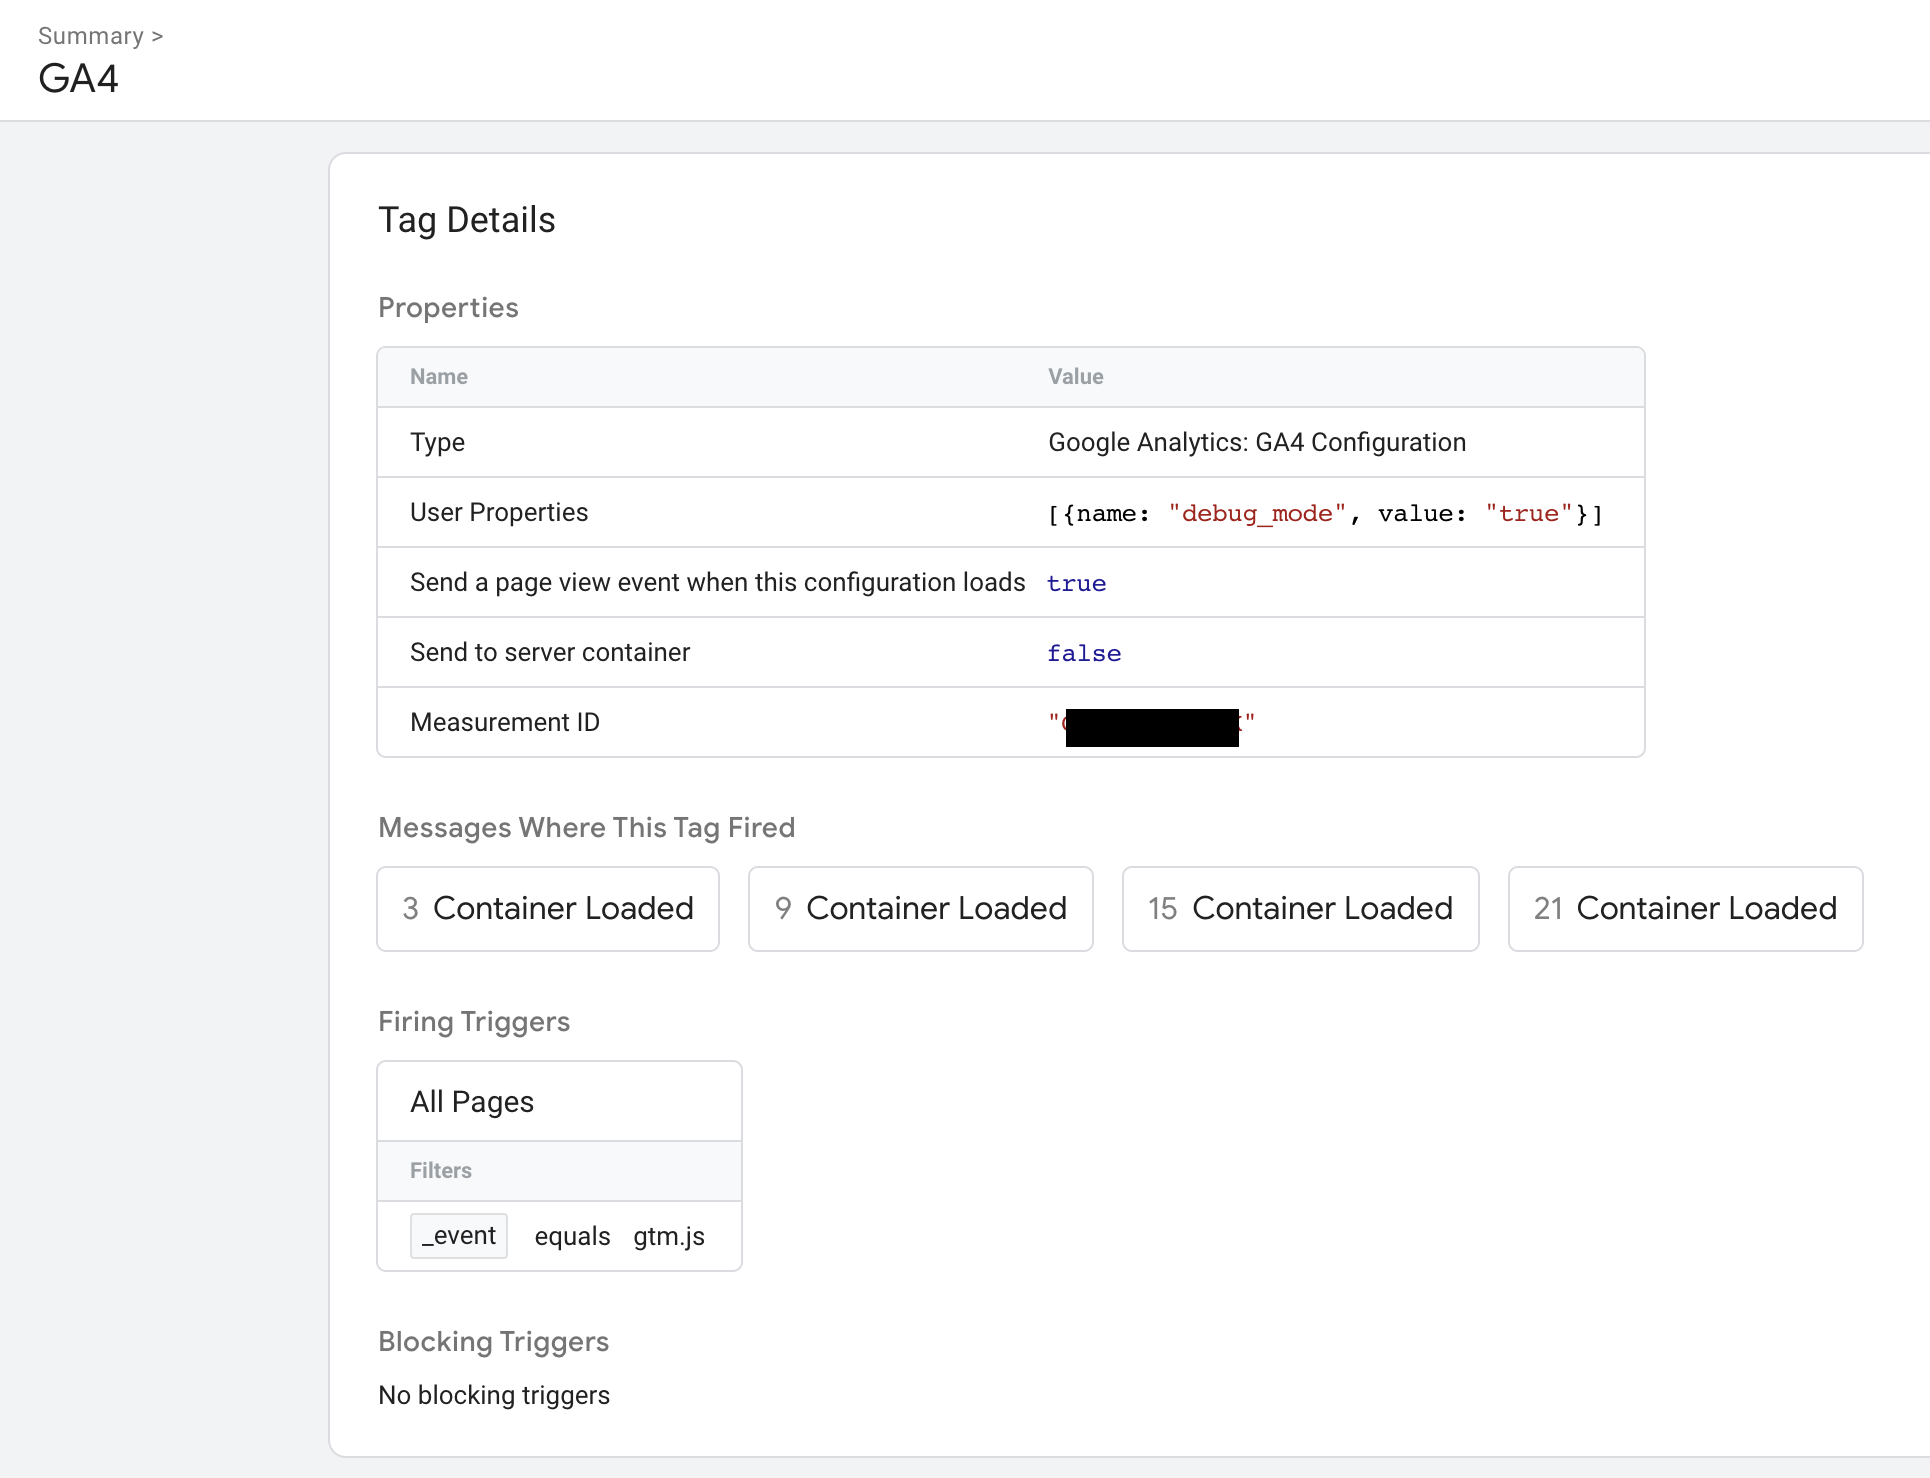
From this summary, I can see that my GA4 tag is a Google Analytics 4 Configuration that loaded with my measurement ID and debug mode parameters. You can even select each of those boxes under Messages Where This Tag Fired to see the exact moments when the GA4 tag got fired to record page views.
You’ll also notice that on the top row to the right of “Google tags found”, there’s two properties: our tag container (GTM-XXXXX) and our analytics property (G-XXXXXX). Select the analytics property (the wee bar graph icon) to see the output of the property:
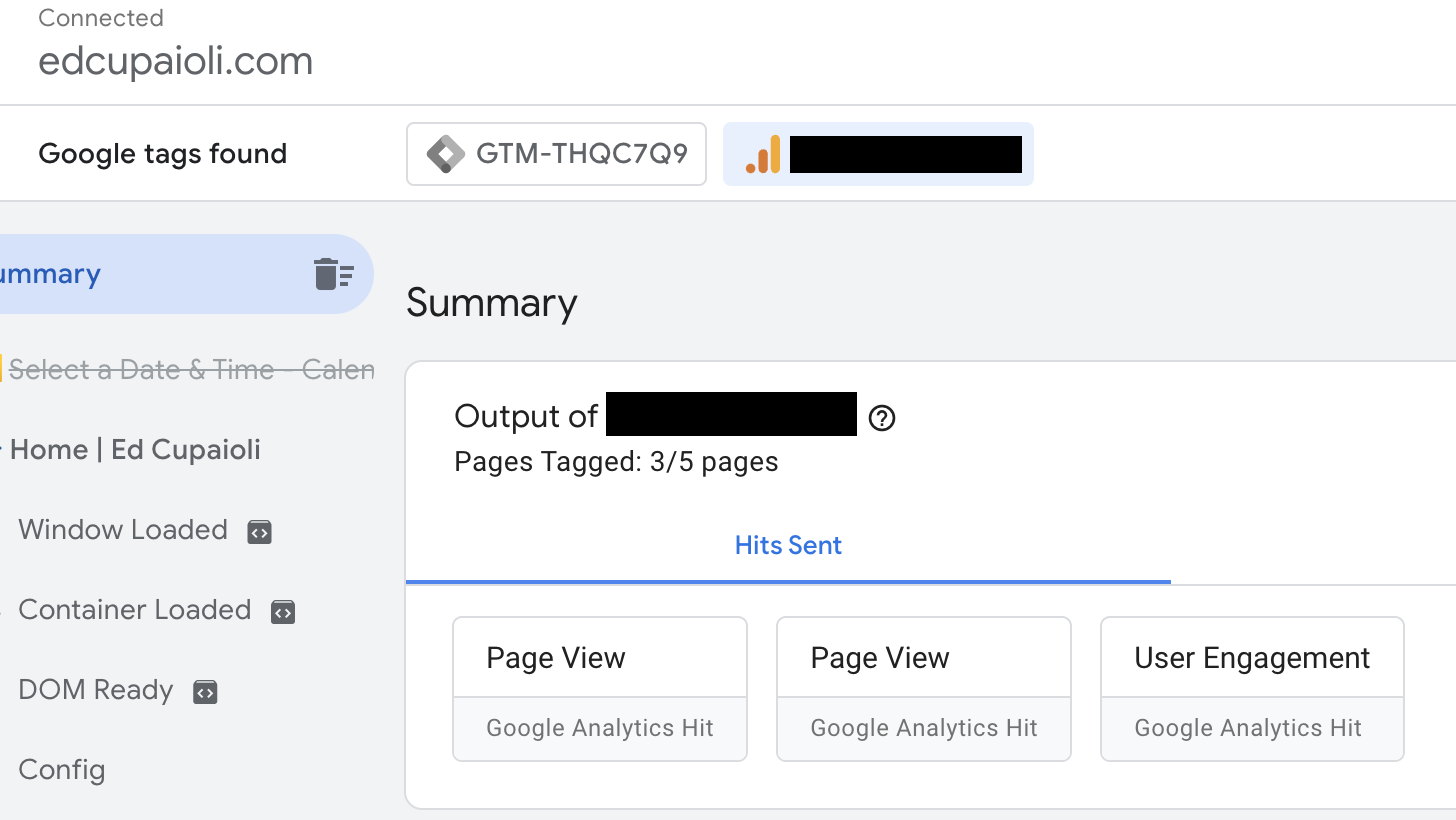
We can see the events that our GA4 configuration is sending to our analytics dashboard: Page View and User Engagement.
Now that we know it’s working on GTM, let’s go to your analytics dashboard and view debug mode:
Use Debug Mode in Google Analytics
1. Open your analytics dashboard and make sure you have the right property selected for your GA4 property.
2. Select the Admin menu item from the left-hand menu (wee gear icon at the bottom) to open the Admin panel.
3. Once in the Admin panel, look to the middle for your Property column then scroll all the way down to find the DebugView item:
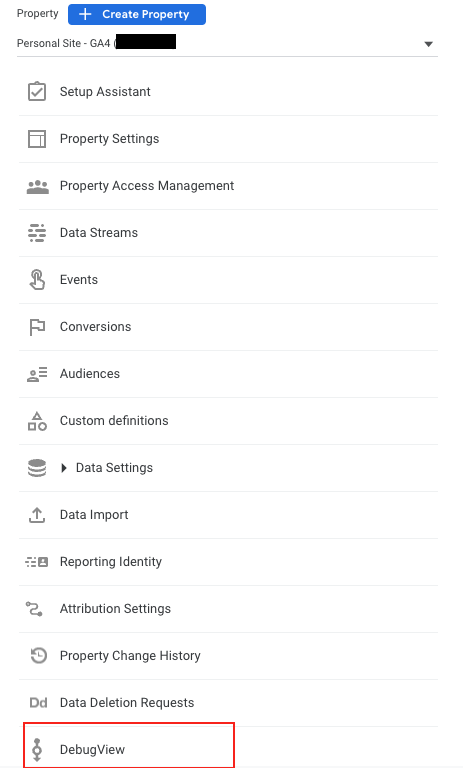
Oy! They really hid it!
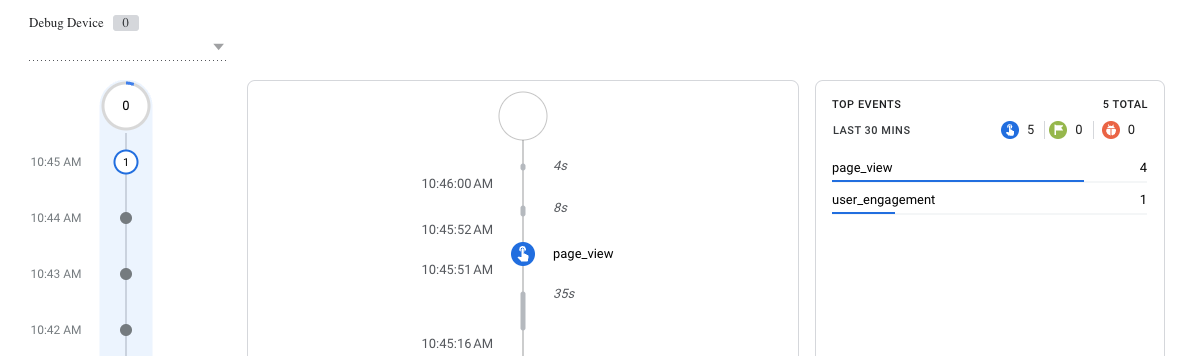
Now you’ll be able to see a live summary off all the events that have occurred on your site in real time:
Alternatively, you can view the Realtime report, but it’s a bit messy in my opinion in that it contains a lot of unnecessary data and makes it difficult to see what you actually need: event data.
Use Realtime Report in Google Analytics
1. Open your analytics dashboard and make sure you have the right property selected for your GA4 property.
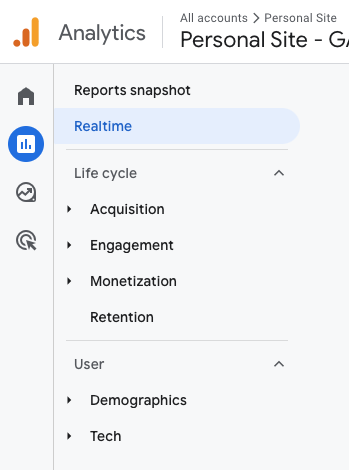
2. Select the Reports menu item from the left-hand menu (the wee bar chart icon)
3. Once the Reports panel is open, select Realtime on the interior left-hand menu:
Now you can see your GA4 property is properly loaded and data (lots of it!) is flowing in.