MailChimp(kimp?) has a handy signup form you can embed into your website easy-peasy, but tracking submissions is a bit more complicated. In this guide, I will show you how track MailChimp signup form submissions on your website using Google Analytics 4 and Google Tag Manager.
I am assuming that you have Google Analytics 4 configured with Google Tag Manager on your website along with debug view enabled for this guide.
Configure your Custom Event Tag
Google’s Recommended Events doesn’t have anything that would accurately capture a newsletter signup since the signup event should be used for when a user account is created and generate_lead is better suited for actual lead forms so you can assign value to them for ad campaigns.
In this case, we’ll call our custom event newsletter_signup and set our GA4 tag to receive the event like so:

You can get fancy and add event parameters to define the location of the signup, (eg footer or the cursed overlay), but I’m keeping it simple here.
Setting your Trigger
Next step is to add your trigger so the event will fire when the form successfully submits. Logically you would think that the Form Submission trigger is the way to go, but it is not. I’m assuming it’s because MailChimp uses javascript to submit the form data and prevent the default form action from redirecting the user to another page. You also shouldn’t trigger the event on the button click because MailChimp can reject the input if the email is not in the right format or the email already exists in their database. Either way, you will use the Element Visibility trigger since MailChimp displays a success message after their database accepted the data.
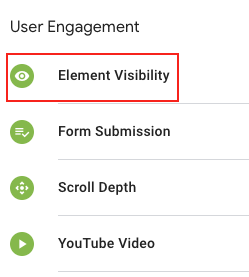
1. Select Element Visibility for your Trigger Type:
2. Next, select ID for the Selection Method.
We’re telling Google Tag Manager, watch for this element to appear on the page with this exact ID. IDs are unique to one element on the DOM, ie the webpage, so they’re the best to work with if you’re targeting one element.
3. Enter the Element ID of the success response: mce-success-response into the Element ID field:
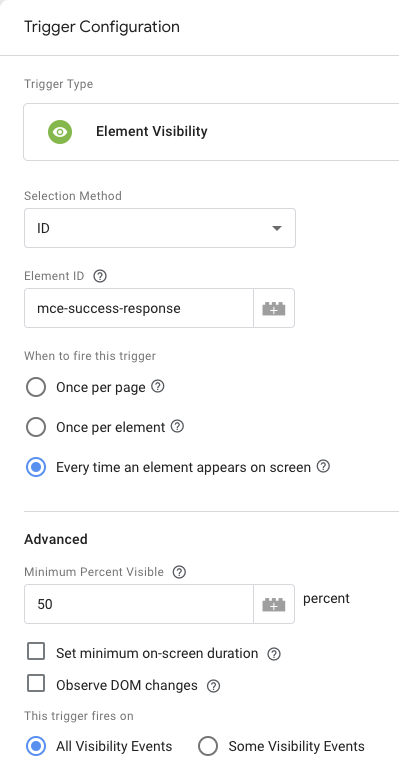
You can leave the options as the default. I changed the When to fire this trigger to every time it appears for testing purposes, but you can leave it as once per page if you only have one form embedded on the page.
Now for that ID, here’s how I got it. I pasted MailChimp’s current code as of writing this below:
<!-- Begin Mailchimp Signup Form -->
<div id="mc_embed_signup">
    <form action="YOUR_FORM_ACTION_URL" method="post" id="mc-embedded-subscribe-form" name="mc-embedded-subscribe-form" class="validate" target="_blank" novalidate>
        <div id="mc_embed_signup_scroll">
        <div class="mc-field-group"><input type="email" placeholder="Your Email" name="EMAIL" class="required email" id="mce-EMAIL"></div>
        <div id="mce-responses" class="clear">
        <div class="response" id="mce-error-response" style="display:none"></div>
        <div class="response" id="mce-success-response" style="display:none"></div>
        </div><!-- real people should not fill this in and expect good things - do not remove this or risk form bot signups-->
        <div style="position: absolute; left: -5000px;"><input type="text" name="b_0b5586be71b0fee16a03f5684_e41ec18eab" tabindex="-1" value=""></div>
        <div class="clear"><input type="submit" value="Subscribe" name="subscribe" id="mc-embedded-subscribe" class="button"></div>
        </div>
    </form>
</div>
<!--End mc_embed_signup-->
As you go down the HTML, you’ll see a div with the ID mce-success-response. Bingo! The other way you can find it is submit a valid email to the form and use Chrome dev tools (right click the element > Inspect Element) to get the success response ID when it appears.
4. Hit the Save button and you’re all set to test.
Test your Tag
Now it’s the moment of truth, let’s test our tag by using using the Tag Assistant in Preview mode and GA4’s new debug view.
1. Select Preview in the upper right-hand corner. We don’t actually have to publish our tag while testing so we should be able to see our new tag firing.
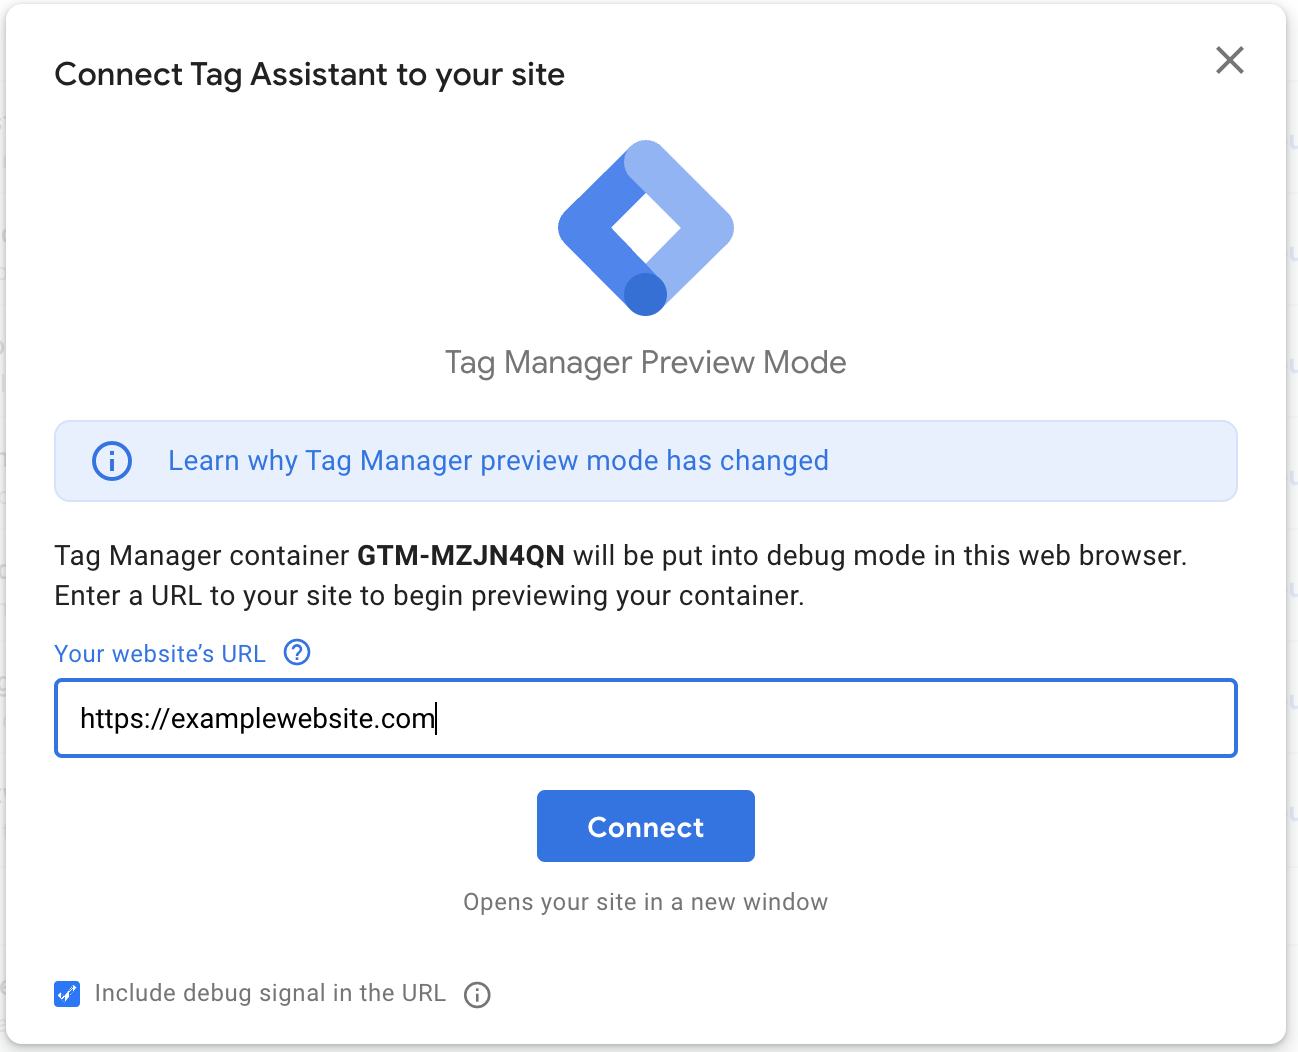
2. In the new window that appear, enter your website’s URL and select Connect:
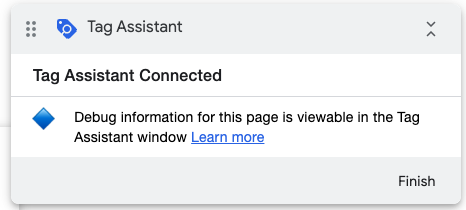
A new window will appear with your website and there will be a wee modal that says your site is in Preview mode:
3. With the Tag Assistant connected to your site, make a submission on your MailChimp signup form and watch for the event in the Tag Assistant Summary:
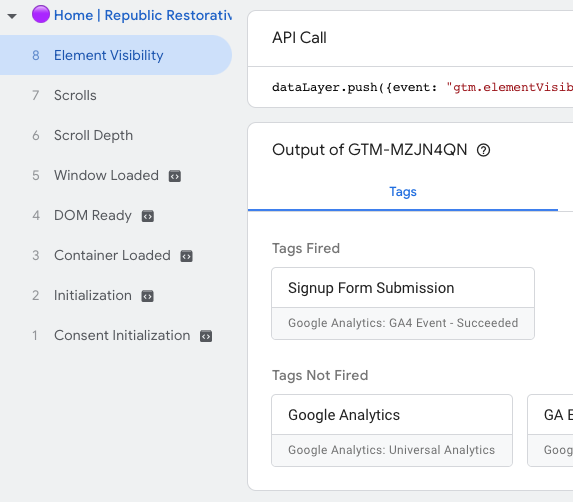
You should see the Element Visibility event in the lefthand column and you should see your Signup Form Submission appear in the tags fired area. You can select the tag to see if the conditions were met:
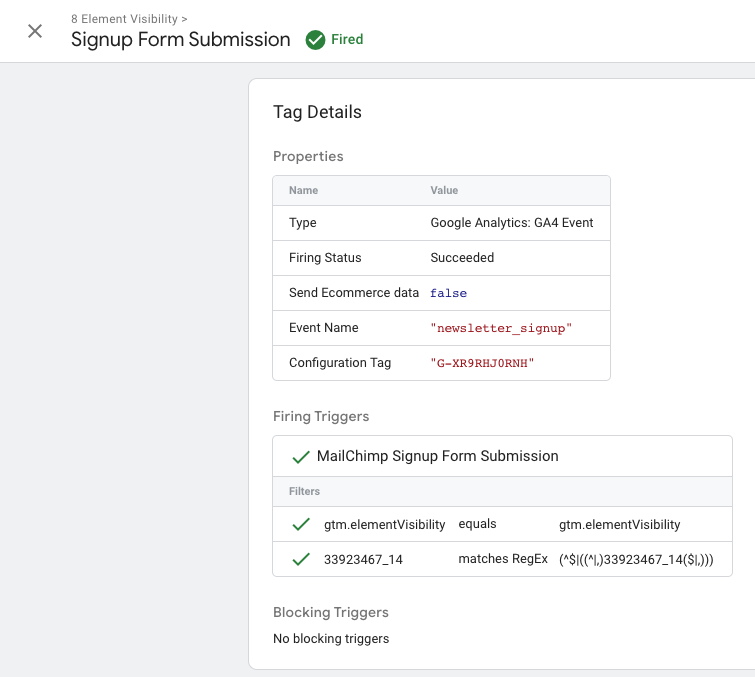
The element was indeed visible (the display: none; CSS property was removed from the style tag on the HTML of the targeted element) and the event, newsletter_signup, was triggered.
4. Head over to your analytics property, and select Admin (the wee gear icon in the bottom left corner) then Debug View in the property column to see the events that triggered recently:
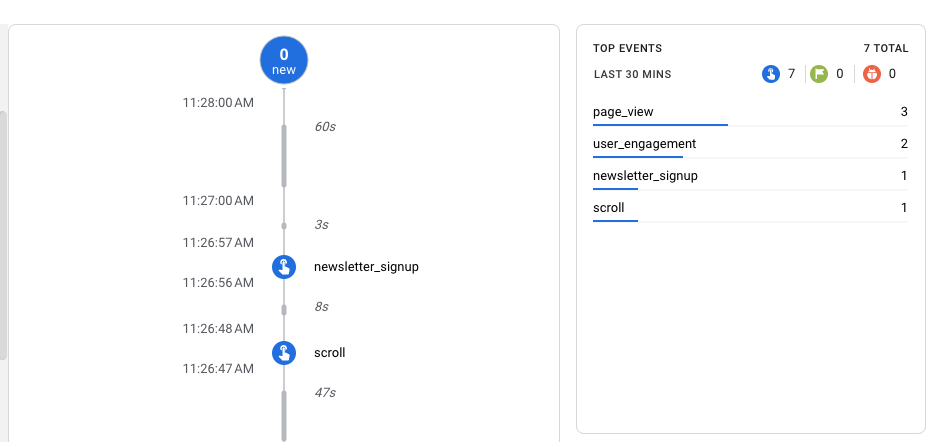
If you don’t have debug view set up or have trouble finding it, use Google’s docs to see how to get it done: Monitor events in DebugView.
That’s it! You now are tracking your MailChimp signups with GA4 via GTM.